Nothing screams game day celebration quite like baseball cupcakes, especially since these charming treats combine creativity and deliciousness in a way that makes them a hit at sports-themed parties, birthdays, or any special occasion for fans. Whether you’re cheering on your favorite team, hosting a themed party, or simply surprising a sports enthusiast, baseball cupcakes undoubtedly offer the perfect mix of fun and flavor. Furthermore, their playful design, complete with detailed frosting seams and vibrant decorations, not only grabs attention but also delights guests of all ages. In short, they are a winning choice for any event.
In this guide, we’ll walk you through step-by-step instructions to bake and decorate your own baseball cupcakes, whether you’re a seasoned baker or just starting out. From selecting the perfect ingredients to mastering the art of piping the iconic red seams, you’ll learn everything you need to make your cupcakes not only taste amazing but also look like miniature works of art. With a few simple tips and tricks, you’ll hit a home run in your kitchen and create memorable desserts everyone will love.
Table of contents
How to Make Baseball Cupcakes Step-by-Step
Crafting the perfect baseball cupcakes is simpler than it sounds, especially when you have the right tools, ingredients, and a bit of patience. In fact, with just a few thoughtful steps, you’ll create delectable cupcakes that not only taste amazing but also are as fun to look at as they are to eat. With this in mind, let’s dive into the details and explore how to bring these delightful treats to life.
Ingredients
Before you start, gather the following items:
- Cupcake Batter: Use your favorite vanilla or chocolate recipe (or a store-bought mix for convenience).
- White Frosting: A smooth, creamy frosting that holds its shape well. Buttercream is a great choice.
- Red Icing: For decorating the seams, use a piping gel or a red icing pen.
- Piping Tools: A piping bag with a fine tip for detailed designs.
- Cupcake Liners: Sports-themed or plain white liners work well.
- Optional Add-Ons: Edible glitter, sprinkles, or other decorations to enhance your design.
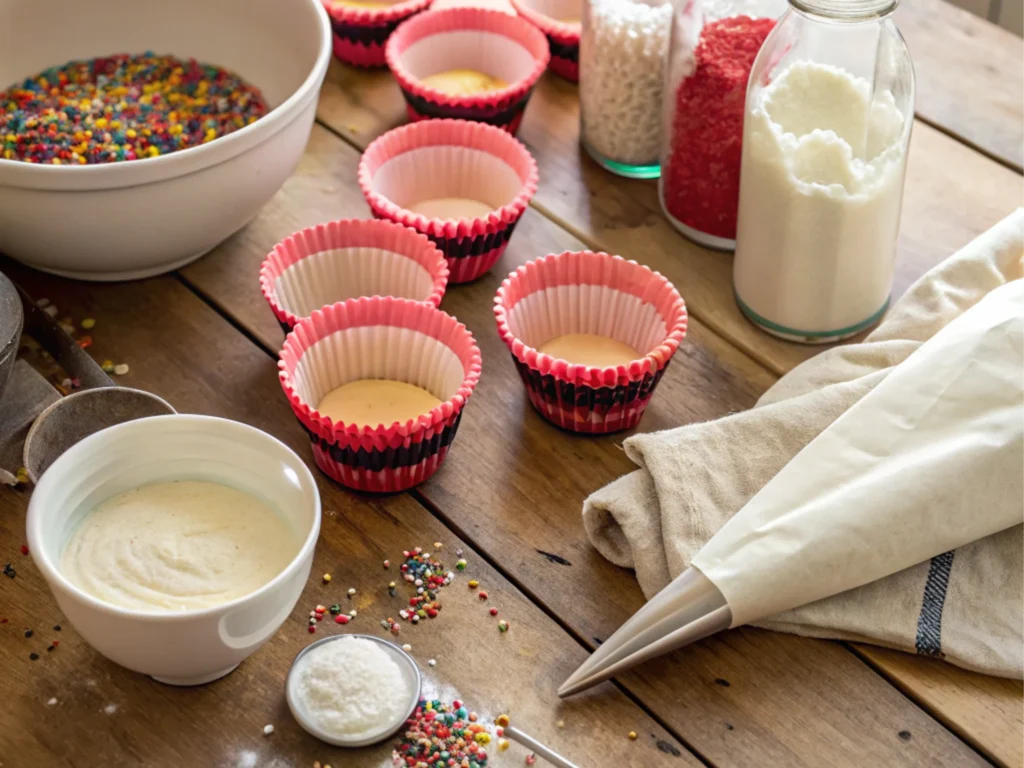
Organizing your ingredients before you begin ensures a smooth baking experience and minimizes interruptions.
For a variety of cake ideas to inspire your baking journey, explore our birthday cakes guide. It’s filled with tips for both beginners and seasoned bakers.
Preparation Steps
Step 1: Preparing the Batter
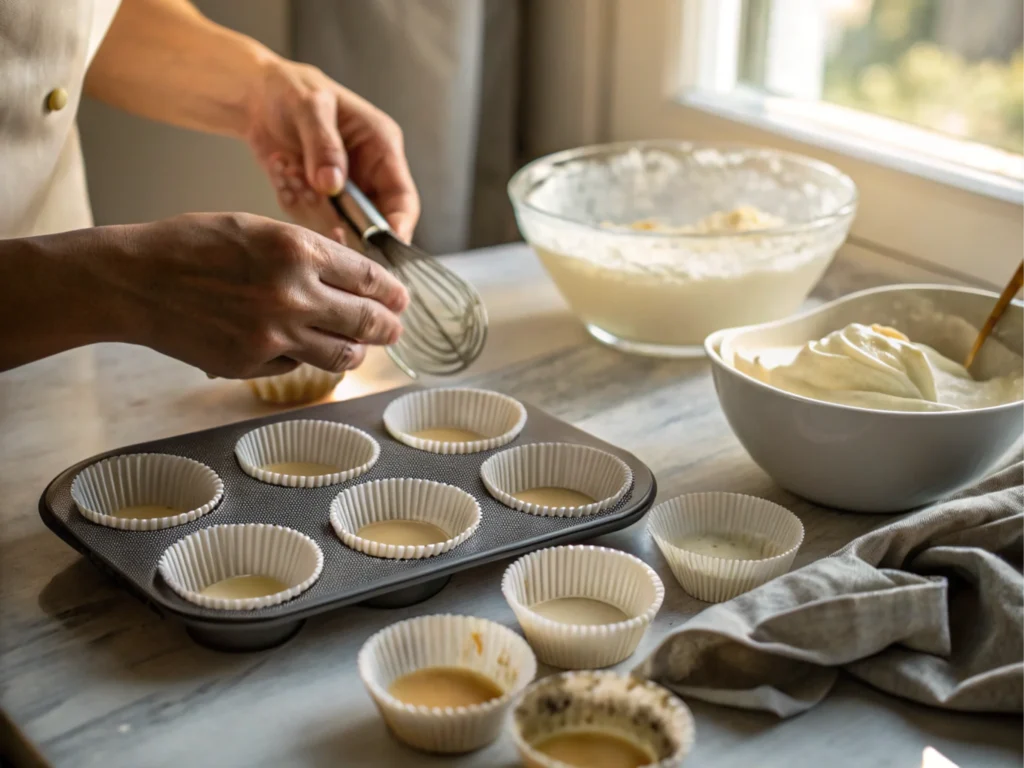
- Mix the Batter: Follow your recipe or box instructions, blending the wet and dry ingredients until smooth. Avoid overmixing, which can lead to dense cupcakes.
- Line the Tin: Place cupcake liners into a muffin tin, ensuring they are evenly spaced.
- Fill the Cups: Pour batter into each liner, filling about 2/3 full to allow room for rising.
- Preheat the Oven: Set your oven to the temperature specified in your recipe (usually 350°F/175°C).
Step 2: Baking the Cupcakes
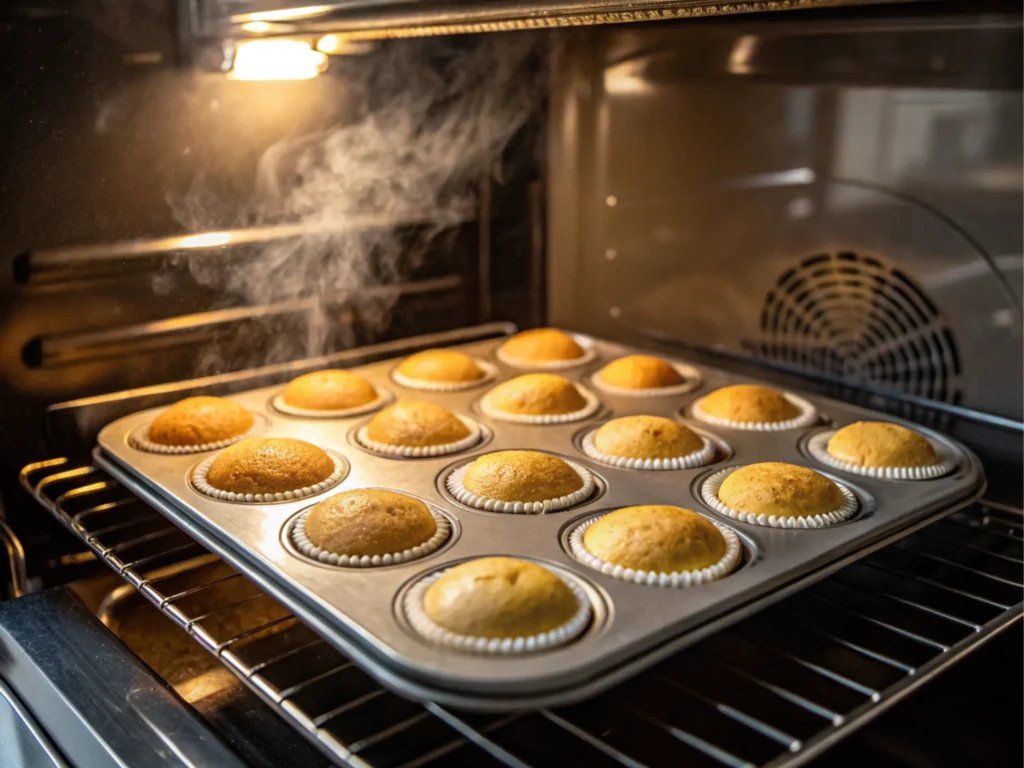
- Bake: Place the tin in the oven and bake for 18-22 minutes, checking for doneness with a toothpick (it should come out clean).
- Cool: Remove the cupcakes from the oven and let them cool in the tin for 5 minutes. Then transfer them to a wire rack to cool completely.
For more inspiration on creative and healthy desserts, consider trying our kefir sheet cake guide. It’s a unique twist on traditional baking.
Decorating Your Baseball Cupcakes
Step 3: Preparing the Frosting
- Base Layer: Using a spatula, apply a smooth layer of white frosting to each cooled cupcake. Ensure the surface is even, as this forms the “canvas” for your design.
- Refine the Finish: Use a butter knife or a small offset spatula to smooth out any imperfections in the frosting.
Step 4: Piping the Baseball Design
- Load the Piping Bag: Fill a piping bag with red icing and attach a fine-tip nozzle.
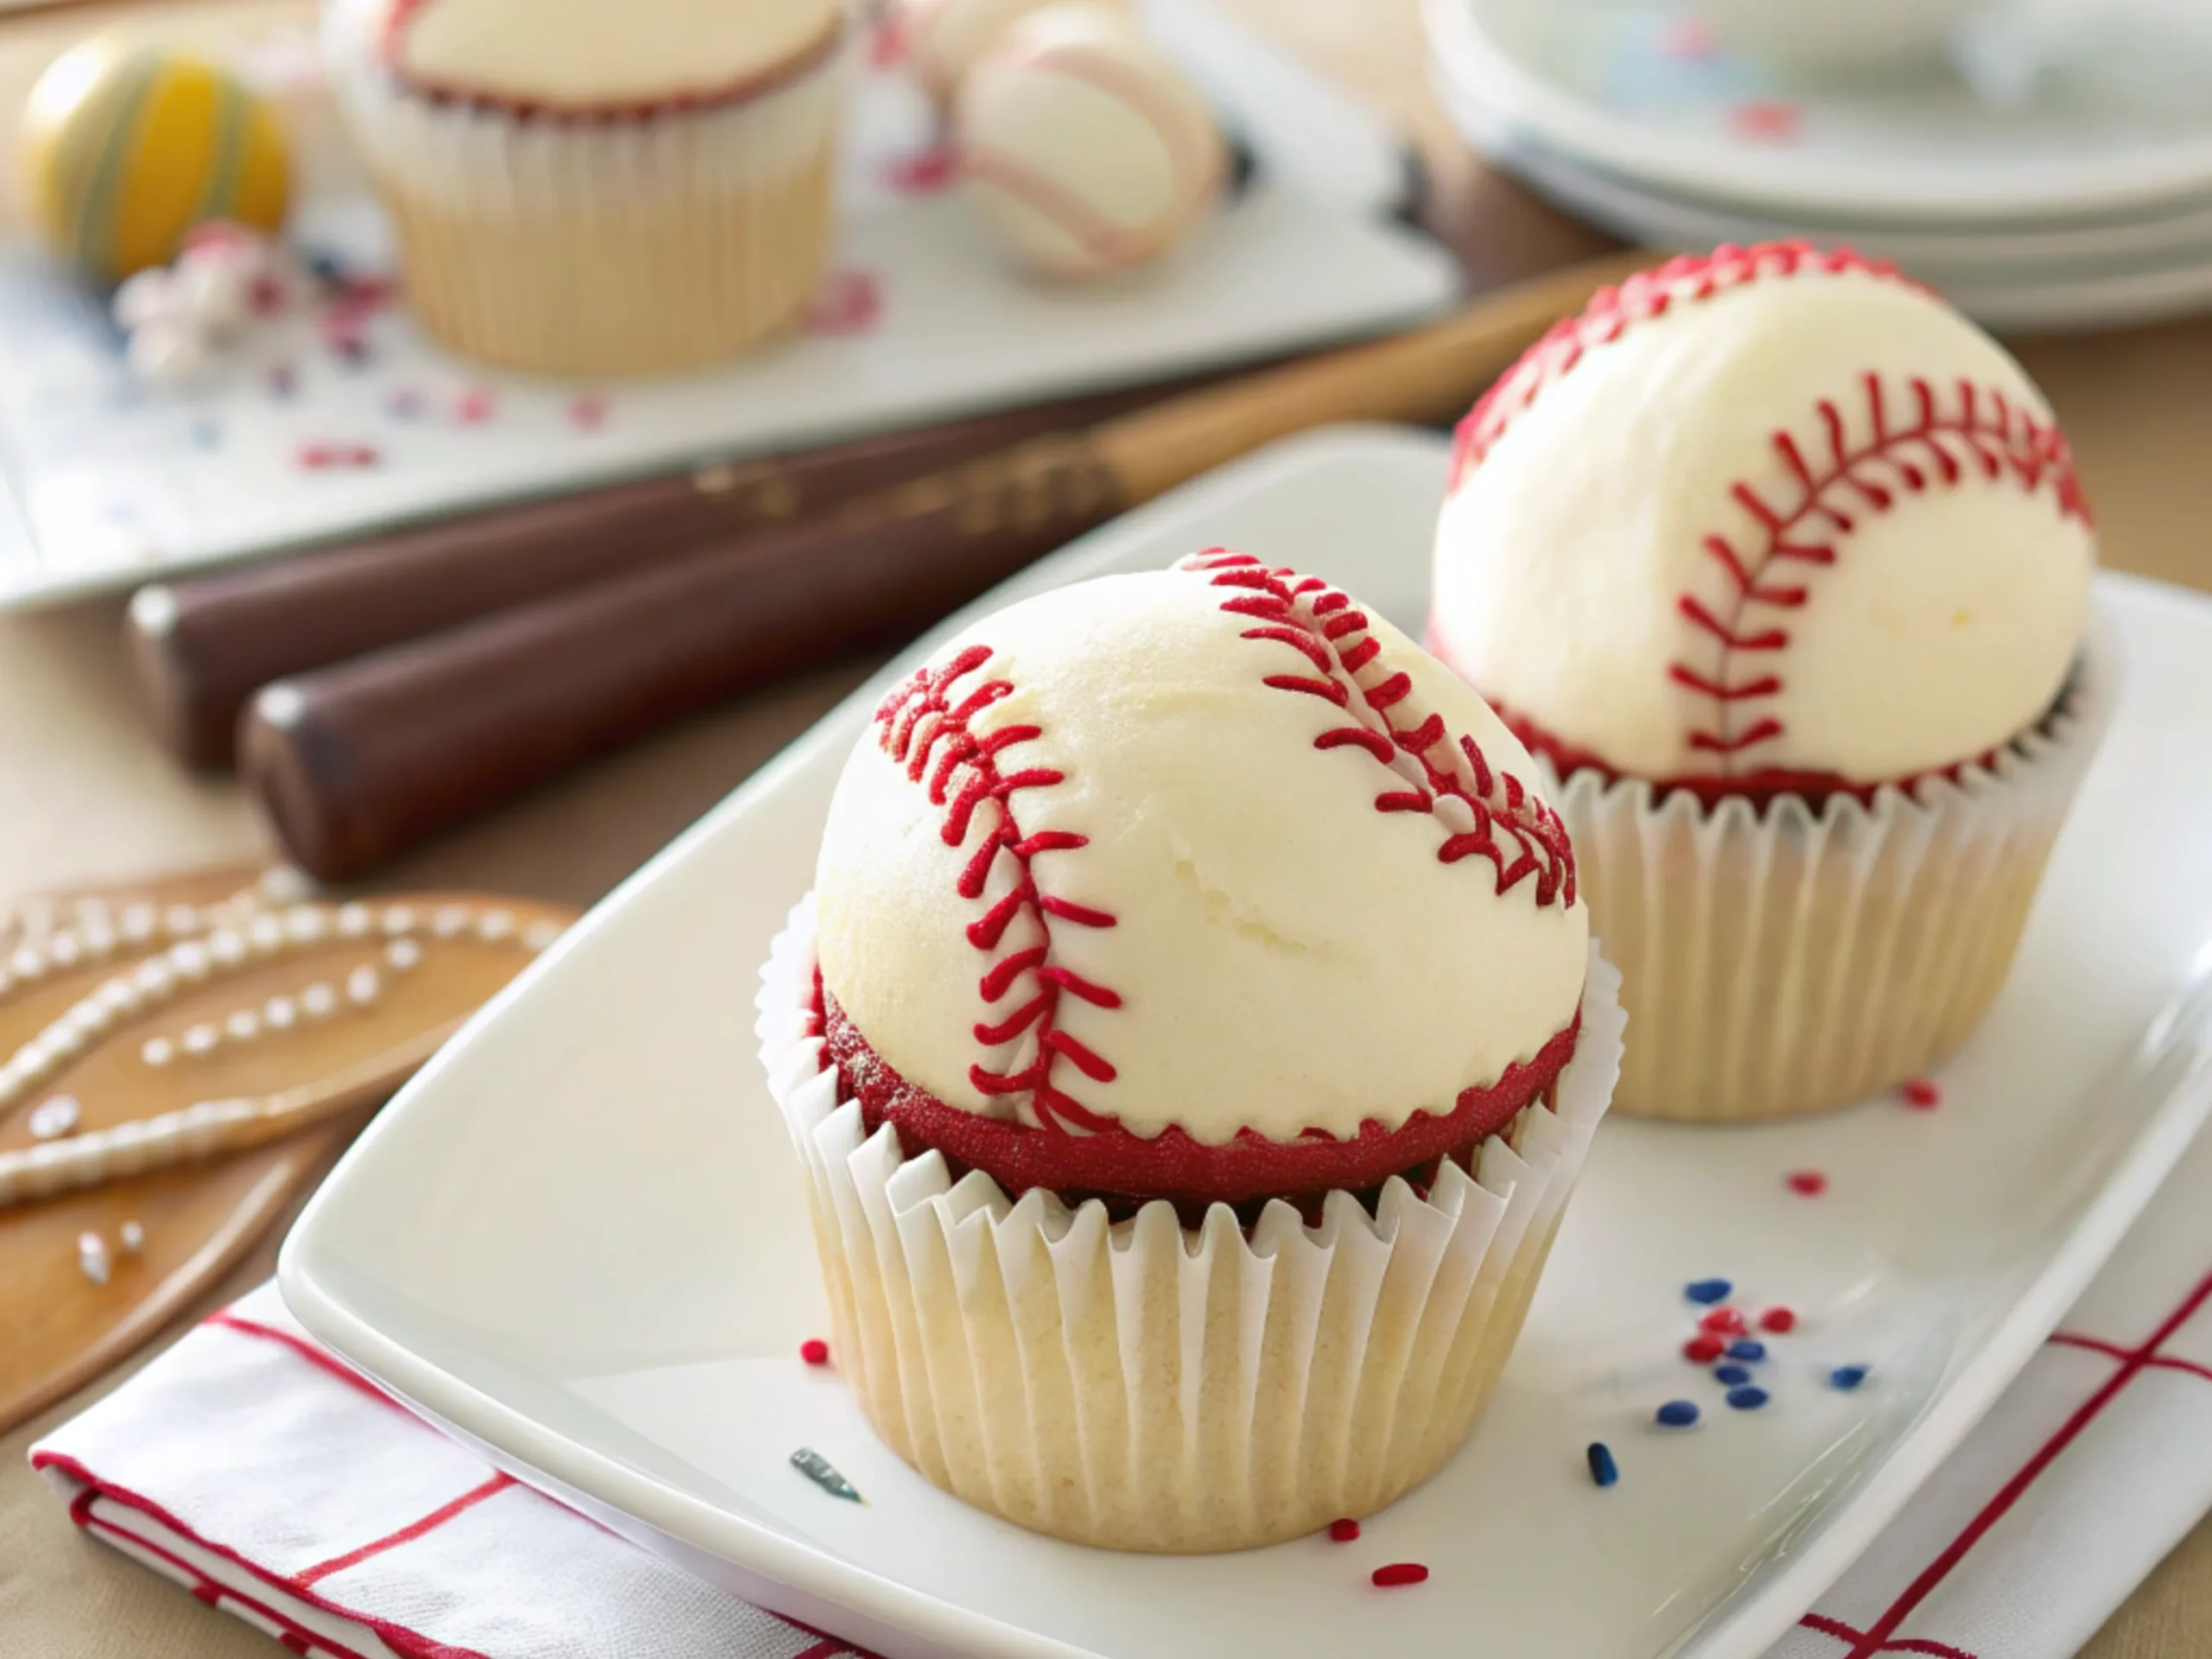
- Draw the Seams: Carefully pipe two curved lines on opposite sides of each cupcake to resemble baseball seams.
- Add Stitching Details: Create small perpendicular lines along the curved lines to mimic the stitching on a real baseball.
Tip: Practice your piping on parchment paper before decorating the cupcakes to perfect your technique.
Pro Tips for Perfect Results
- Chill the Frosting: Keep the frosting slightly chilled to prevent it from becoming too soft while decorating.
- Steady Hands: Use both hands for better control while piping. One hand holds the bag, and the other guides the nozzle.
- Custom Seams: Experiment with different seam designs or colors to add your unique flair.
Picking up where we left off, now that your cupcakes are frosted with a smooth base layer and the seams are piped, it’s time to perfect the finishing touches. From advanced decoration tips to presentation ideas, we’ll make sure your baseball cupcakes stand out at any event.
Finishing Touches
Step 5: Adding Optional Decorations
Adding optional details is where your creativity can shine:
- Sprinkles and Glitter: A dash of edible glitter or colorful sprinkles can enhance the presentation of your cupcakes. Be sure to apply these sparingly so the baseball design remains the focus.
- Personalized Designs: Add initials, team logos, or small numbers representing players. Use a fine-tipped icing pen for precision.
- Custom Colors: Incorporate team colors into your cupcakes to make them even more special for game-day celebrations. For instance, you could use alternating seam colors or add edible fondant team logos.
Step 6: Plating and Presentation
- Arrange the Cupcakes: Use a sports-themed cupcake stand or a simple white platter to let your cupcakes shine. If you have other baseball-themed props, such as mini bats or balls, consider placing them around the platter for added flair.
- Themed Tablescape: Elevate your presentation by including themed napkins, plates, or a small baseball field-inspired centerpiece.
For a look at how themed dishes can transform a dessert table, visit our guide on pumpkin bagels, which showcases creative presentation techniques for festive treats.
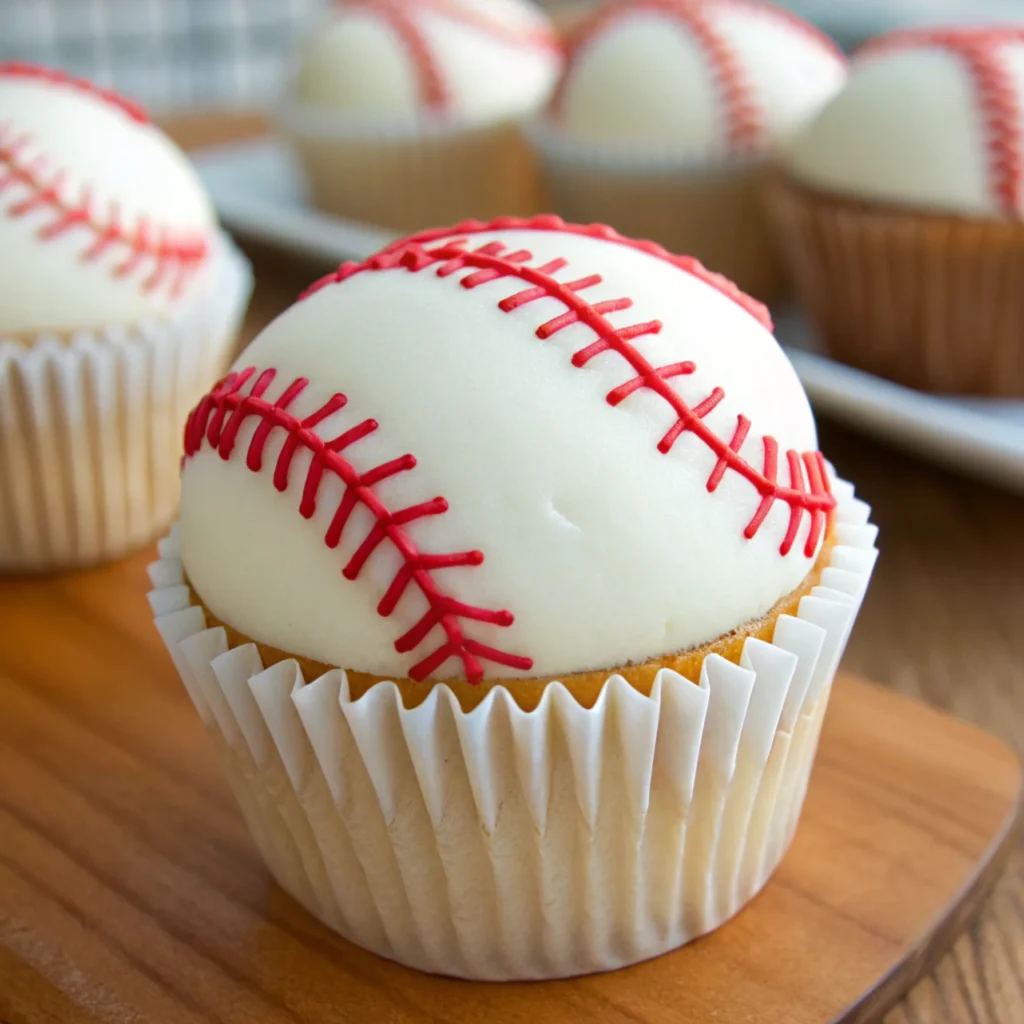
The intricate details of your icing design will stand out beautifully when viewed up close. A macro shot highlights the smooth frosting, precise seams, and delicate stitching details, showcasing the care that went into your creation.
Pro Tips & Variations
Your baseball cupcakes are already a showstopper, but with these tips and variations, you can take your baking game to the next level.
Tips for Consistency
- Use Templates: To ensure uniformity, draw seam outlines on parchment paper and use them as guides while piping. This technique is especially helpful if you’re making a large batch.
- Practice Your Piping: Before decorating the cupcakes, practice your piping on a flat surface like parchment paper to perfect your technique.
- Chill Your Tools: Keep your piping bag slightly chilled to maintain the correct consistency for clean lines.
Creative Variations
- Flavor Swaps: While vanilla and chocolate are classics, don’t shy away from experimenting. Try flavors like red velvet, lemon, or even strawberry for a surprising twist.
- Dietary Adaptations: Replace traditional ingredients with gluten-free or dairy-free alternatives. For frosting, coconut cream or plant-based butter works wonderfully.
- Multi-Sport Cupcakes: Expand your theme by creating cupcakes for multiple sports. Pair your baseball designs with soccer or basketball-themed cupcakes for a complete sports-themed spread.
- Mini Baseball Cupcakes: Use a mini cupcake pan to create bite-sized baseballs. These are perfect for kids’ parties or as finger food at larger gatherings.
[Insert Image 6: Serving Suggestion]
A beautifully plated set of cupcakes, especially when paired with creative garnishes or complementary treats, such as fruit skewers or cookies, can undeniably elevate your presentation to a new level. Additionally, using bold napkins, as well as team-themed props, not only adds a fun and vibrant touch to your serving table but also, in effect, makes it the star of any gathering. For that reason, your display becomes a conversation piece that enhances the entire event.
FAQs
Addressing common questions not only ensures your baseball cupcake experience is smooth and enjoyable but also provides helpful insights for any challenges you might face. Below, we’ve answered the most frequently asked questions related to decorating cupcakes and adapting the process for various needs. By doing so, we aim to make your baking and decorating journey as seamless as possible.
How to Decorate Cupcakes to Look Like Baseballs?
To create baseball cupcakes, start by applying a smooth layer of white frosting over each cupcake. Use a fine-tipped piping bag to draw two curved red lines on opposite sides of the cupcake. Then, add short perpendicular lines along the seams to mimic stitching. For best results, practice your piping skills beforehand.
How to Ice Baseball Cupcakes?
For icing baseball cupcakes, you’ll need white frosting for the base and red icing for the seams. Spread the white frosting evenly with a spatula or butter knife. Once it’s smooth, use the piping bag to add the red seam lines and stitching. Keep your hand steady and work slowly for clean designs.
How to Make Rubber Duck Cupcakes?
Rubber duck cupcakes are a fun alternative for parties. Start with yellow frosting for the duck’s body. Use a small marshmallow or cake pop for the head, adding candy eyes and an orange icing beak. These cupcakes are playful and easy to customize.
How to Decorate Cupcakes Like Pumpkins?
Pumpkin-themed cupcakes are perfect for autumn events. Use orange frosting as the base, piping it in ridges to mimic the natural grooves of a pumpkin. Add green frosting for vines and a chocolate candy as the stem to complete the look.
Can I Use Store-Bought Frosting?
Yes, store-bought frosting works well, especially if you’re short on time. To achieve the ideal consistency for piping, mix in a little powdered sugar if the frosting is too thin or a splash of milk if it’s too thick.
How Do I Store Baseball Cupcakes?
Store decorated cupcakes in an airtight container to maintain freshness. If the weather is warm, consider refrigerating them but allow the cupcakes to come to room temperature before serving for optimal taste and texture.
What’s the Best Way to Serve Baseball Cupcakes?
Arrange your cupcakes on a tiered stand or large platter. For themed parties, add edible baseballs, bats, or even mini team pennants around the display. Serve with complementary snacks like popcorn or pretzels for a full game-day vibe.
Can I Freeze Baseball Cupcakes?
Yes, you can freeze undecorated cupcakes for up to three months. Once decorated, freezing is not recommended as the icing may lose its shape. If you plan to freeze, decorate them fresh before serving.
Conclusion
Baseball cupcakes are more than just a dessert; they’re a fun and creative way to celebrate your love for the game. By following this guide, you’ve mastered everything from baking to decorating, ensuring your cupcakes look as good as they taste. Whether you’re hosting a game-day party, a birthday celebration, or simply baking for fun, these cupcakes are sure to impress your guests. For more creative ideas and unique treats, explore our travel cake guide for inspiration on cakes that are perfect for any journey. Add your personal touch to make them uniquely yours, and don’t forget to share your delicious creations with family and friends!

5 thoughts on “Baseball Cupcakes: Easy Steps to Decorate Like a Pro”