There’s nothing like the irresistible crunch of homemade granola, especially when it’s fresh out of the oven. If you’re tired of store-bought options, which are often loaded with sugar and artificial ingredients, this vanilla nut granola recipe is, without a doubt, your perfect solution. Not only is it easy to make, but it is also highly customizable to fit your taste and dietary needs. For instance, whether you’re searching for a quick breakfast, a snack, or a crunchy topping for yogurt and desserts, this recipe is, unquestionably, a game-changer.
In this guide, we’ll explicitly walk you through every step of making the perfect vanilla nut granola. Additionally, you’ll learn tips to ensure your granola comes out undeniably crunchy and delicious every time. So, with this intention in mind, let’s get started!
Table of contents
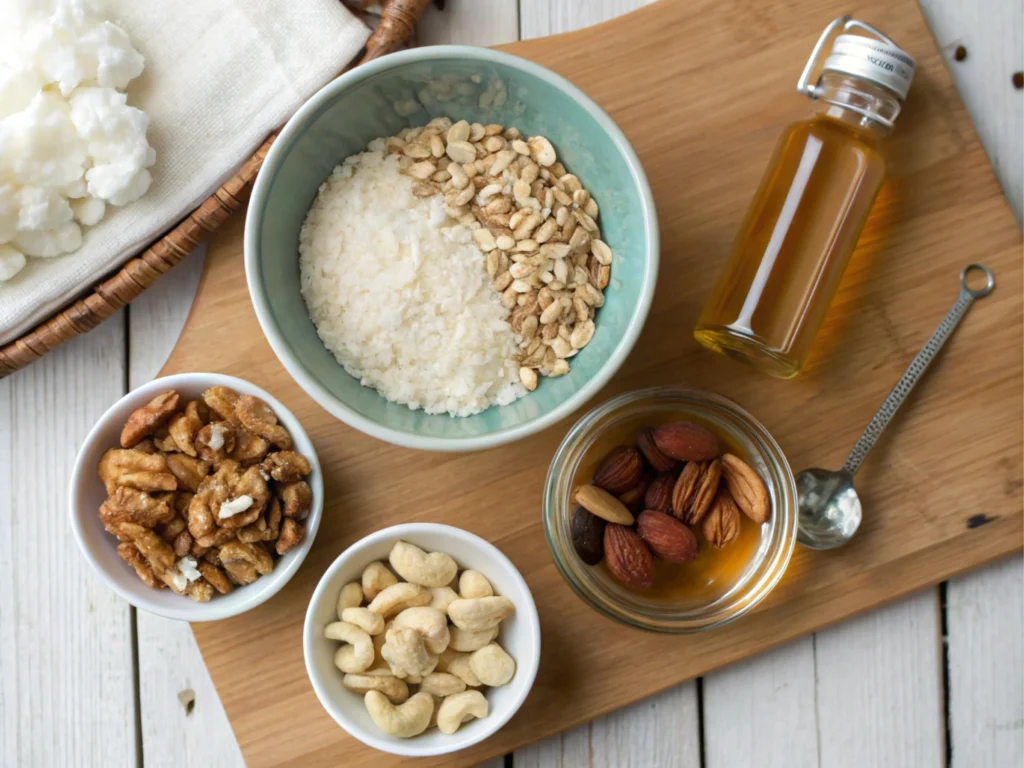
Ingredients Needed for Vanilla Nut Granola
To achieve the perfect balance of flavor and crunch, you’ll undoubtedly need a few simple ingredients:
- Old-fashioned oats: The base of any great granola. Avoid quick oats as they won’t hold their texture.
- Mixed nuts: A mix of almonds, pecans, and walnuts adds richness and crunch.
- Honey or maple syrup: These natural sweeteners help the granola stick together and add subtle sweetness.
- Vanilla extract: For that aromatic and delightful vanilla flavor.
- Coconut oil: This ensures the granola bakes evenly and gets that golden crisp texture.
- Salt: A pinch of salt enhances all the flavors and balances the sweetness.
Optional ingredients:
- Dried fruits like cranberries or raisins (add after baking).
- Seeds such as pumpkin or sunflower seeds.
- Chocolate chips or coconut flakes for added variety.
Why Use Natural Sweeteners?
Unlike refined sugars, honey and maple syrup not only provide a natural sweetness but also act as a binding agent, making the granola clump together beautifully. They also add subtle depth to the flavor without overpowering the nuts and oats.
Step-by-Step Instructions for the Perfect Vanilla Nut Granola
Preparing Your Vanilla Nut Granola
Making this granola is undeniably simple and requires just a few steps. Accordingly, follow these instructions for the best results:
- Preheat your oven.
Set your oven to 325°F (160°C). A lower temperature ensures the granola bakes evenly without burning. - Mix dry ingredients.
In a large mixing bowl, combine:
- 3 cups of old-fashioned oats
- 1 cup of mixed nuts (roughly chopped)
- ½ teaspoon of salt Stir well to evenly distribute the ingredients.
- Prepare the wet mixture.
In a separate small bowl, whisk together:
- ⅓ cup of melted coconut oil
- ⅓ cup of honey or maple syrup
- 2 teaspoons of vanilla extract Whisk until smooth and well combined.
- Combine everything.
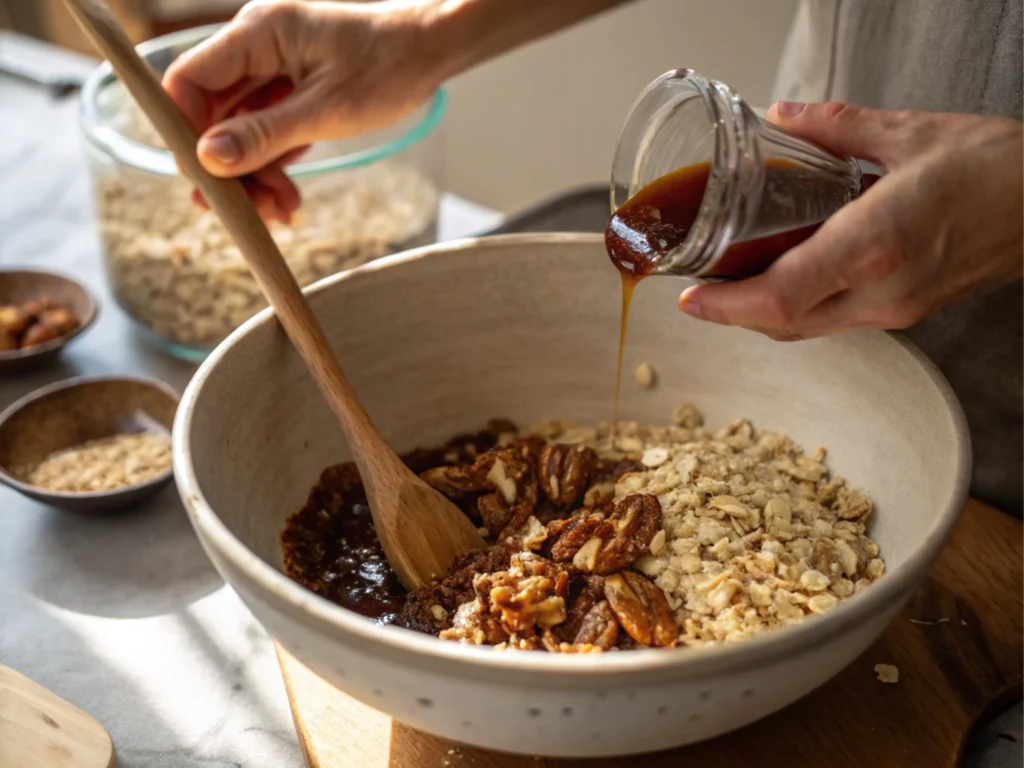
Pour the wet mixture over the dry ingredients. Subsequently, use a spatula or wooden spoon to mix thoroughly, ensuring every oat and nut is coated evenly. Undoubtedly, this step is crucial for achieving a consistent flavor and texture. - Spread and bake.
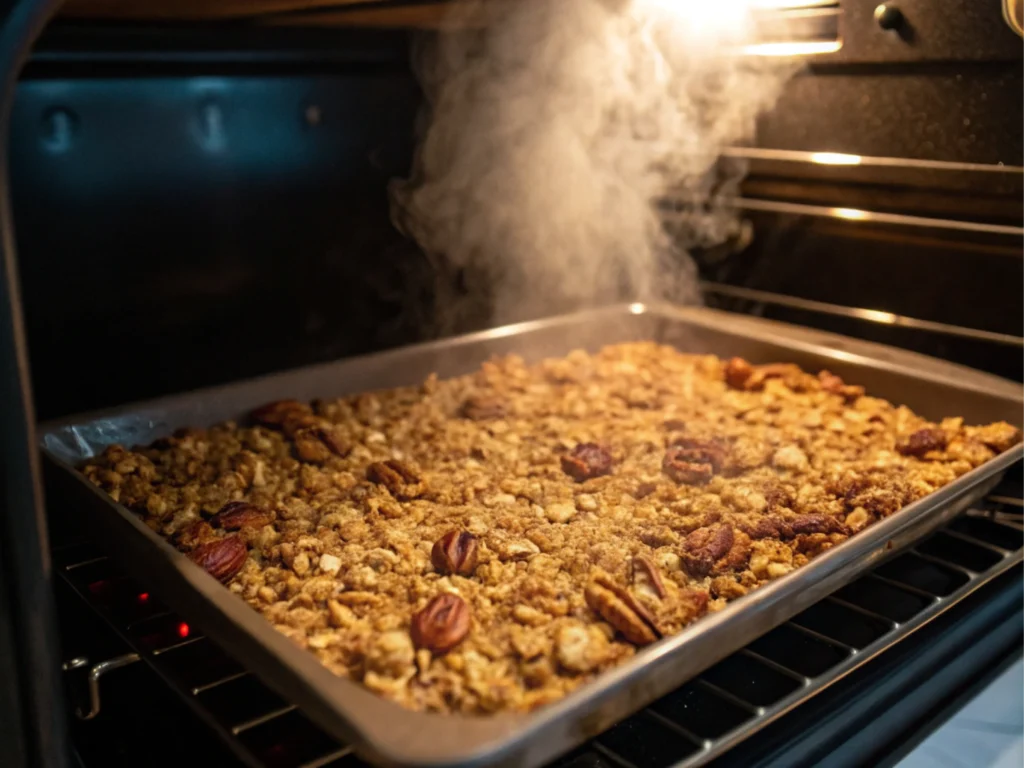
Line a large baking sheet with parchment paper. Subsequently, spread the granola mixture in an even layer across the sheet. Bake for 20–25 minutes, stirring halfway through to ensure even toasting. - Cool completely.
Once the granola is golden brown, remove it from the oven. Allow it to cool on the baking sheet for at least 15 minutes. As it cools, the granola will harden and form delicious clusters.
Pro Tips for Perfect Crunch
To achieve the ultimate crunch in your vanilla nut granola:
- Low and slow baking: Baking at 325°F prevents the granola from burning while giving it time to crisp up.
- Do not over-stir: Stir only once during baking to maintain clusters.
- Let it cool undisturbed: Allowing the granola to cool on the tray helps it form those irresistible clumps.
By following these tips, your granola will come out perfectly golden, crunchy, and flavorful every single time.
The Benefits of Homemade Granola
Store-bought granola often comes with a long list of preservatives, refined sugars, and unhealthy oils. Conversely, making your own granola at home offers numerous benefits:
- Healthier Ingredients: You control what goes into the recipe, using natural sweeteners and heart-healthy nuts.
- Cost-Effective: A batch of homemade granola costs significantly less than premium store-bought versions.
- Customizable: Adjust the ingredients to suit your preferences. Add dried fruits, seeds, or spices like cinnamon for variety.
Moreover, homemade granola is perfect for meal prep. Store it in an airtight container, and it’ll stay fresh for up to two weeks.
For more on how specific foods can enhance flavor and texture, check out what does raclette consist of, where we break down the best ingredients for rich, satisfying dishes.
Common Mistakes to Avoid When Making Granola
Even the simplest recipes can go wrong if you’re not careful. Accordingly, here are the most common granola-making mistakes and how to fix them:
Why is my granola not crunchy?
- Mistake: Baking at too low a temperature or skipping the stirring step.
- Solution: Bake at 325°F and stir halfway through to ensure even browning.
What ingredient makes granola stick together?
- The secret lies in using the right amount of honey, maple syrup, or another natural sweetener. These act as glue, binding the oats and nuts into clusters.
Why does my granola taste bitter?
- Mistake: Over-toasting the nuts or using rancid ingredients.
- Solution: Keep an eye on the baking time and use fresh, high-quality nuts and oils.
By avoiding these pitfalls, you’ll undoubtedly achieve delicious, perfectly textured granola every time.
Serving Ideas for Vanilla Nut Granola
This versatile granola can be enjoyed in several ways:
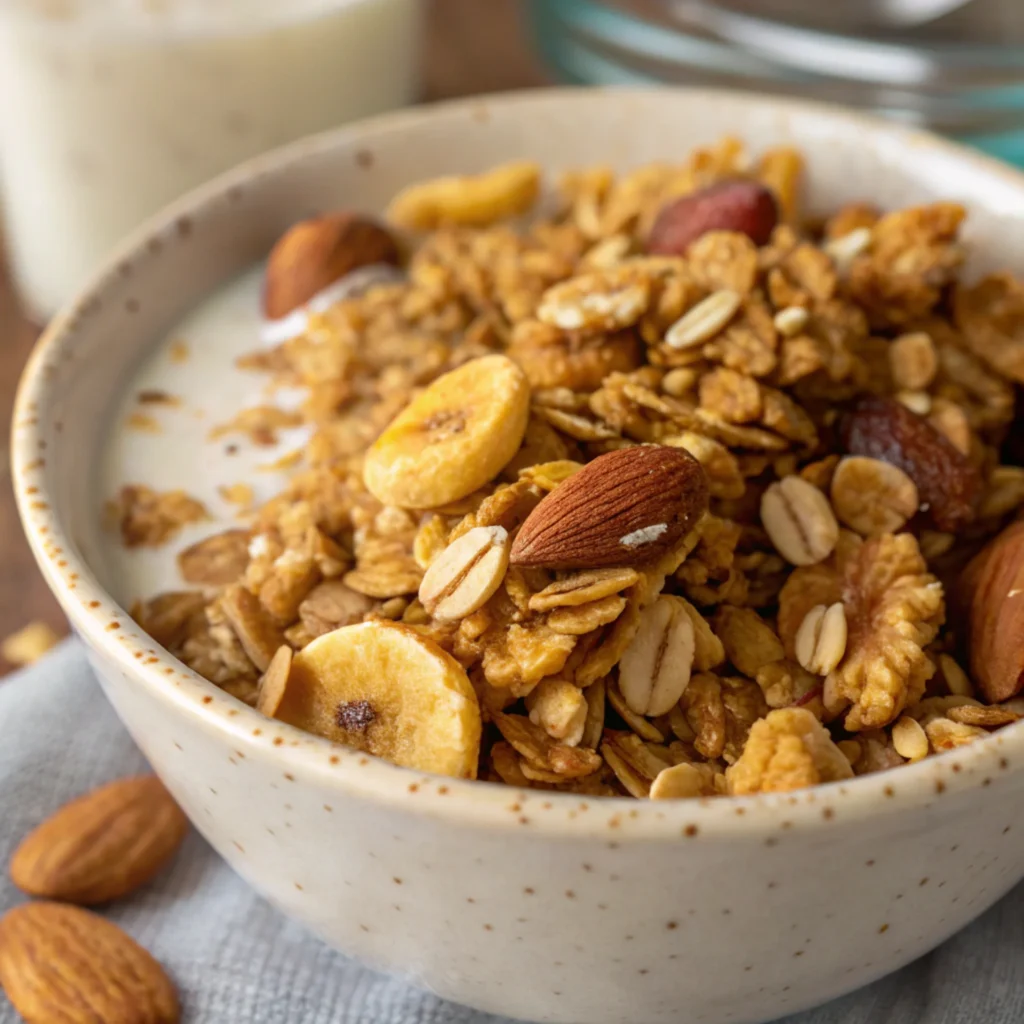
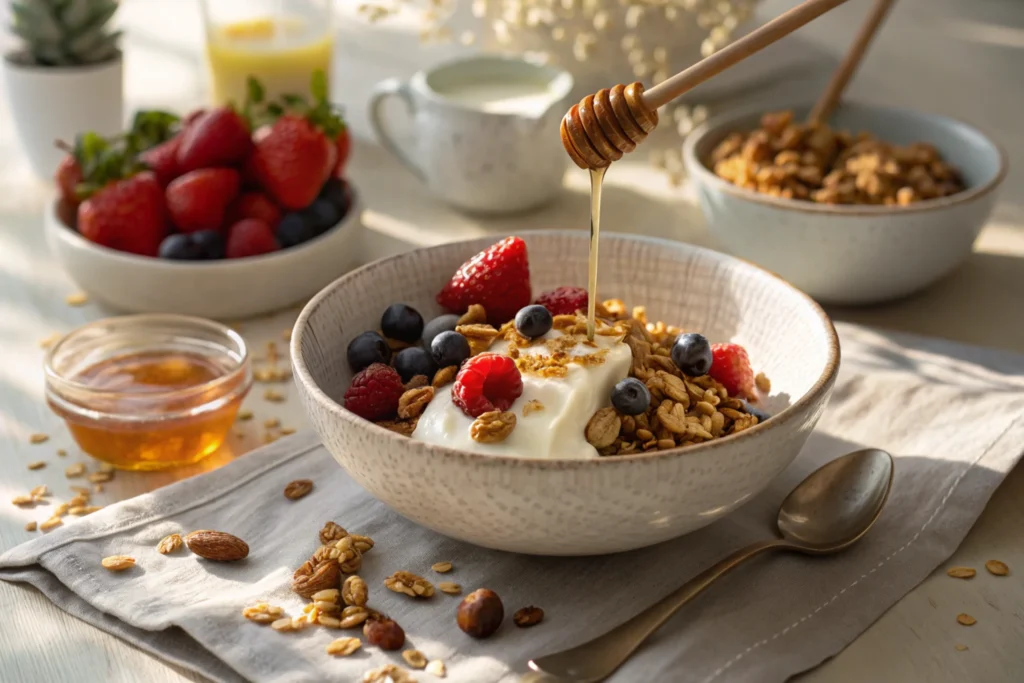
- Classic Breakfast Bowl: Serve it with milk or yogurt and top with fresh berries or banana slices.
- Smoothie Bowl Topping: Add a crunchy layer to your favorite smoothie bowl for texture.
- Dessert Sprinkle: Use as a topping for ice cream, puddings, or fruit crumbles.
- Snack On-the-Go: Pack a small container for a nutritious snack at work or school.
For more creative ways to incorporate granola into your meals, take a look at our guide on how to cook frozen soup dumplings. It’s full of simple yet delicious ideas to elevate your culinary skills.
Nutritional Benefits of Vanilla Nut Granola
This homemade granola recipe isn’t just tasty—it’s packed with nutrients:
- Oats: Rich in fiber, oats support digestion and keep you full longer.
- Nuts: Loaded with healthy fats, protein, and essential vitamins.
- Honey or Maple Syrup: Natural sweeteners with antioxidants and anti-inflammatory properties.
With its balanced combination of carbs, healthy fats, and protein, this granola is undoubtedly the perfect addition to a healthy diet.
Final Touches and Cooling
Once your granola has baked to a beautiful golden brown, here’s how to finish it off properly:
- Monitor closely: In the last 5 minutes of baking, watch the granola carefully. The nuts can go from toasted to burnt very quickly.
- Remove from oven: Take the tray out as soon as the granola turns golden and fragrant.
- Add any extras: At this stage, you can sprinkle dried fruits, seeds, or coconut flakes over the warm granola. The residual heat will soften these additions slightly.
- Let it cool completely: Leave the granola undisturbed on the tray for at least 15-20 minutes. Cooling it on the baking sheet allows clusters to form naturally, giving you the perfect texture.
Storage Tips for Long-Lasting Freshness
To keep your vanilla nut granola fresh and crispy for weeks, follow these storage tips:
- Use an airtight container: Store the cooled granola in a glass jar, mason jar, or BPA-free plastic container with a tight-fitting lid.
- Avoid moisture: Ensure the granola is fully cooled before storing to prevent trapped steam from softening it.
- Room temperature: Keep the container in a cool, dry pantry. Avoid exposure to heat or sunlight, which can cause the nuts and oils to spoil.
- Freezing option: If you want to extend the shelf life even further, freeze the granola in an airtight bag for up to 3 months. Defrost at room temperature when ready to use.
By following these steps, your granola will retain its delicious crunch and flavor for weeks!
For those who enjoy exploring creative baking ideas, you’ll love our take on kefir sheet cake, where we showcase how kefir enhances texture and taste in baked goods.
Pro Tips & Creative Variations
Experiment with Flavors
Customizing your granola allows you to create endless variations that suit your taste while keeping the essence of your vanilla nut granola recipe intact. Here are some creative ideas:
- Cinnamon Spice: Add 1 teaspoon of cinnamon to the dry mixture for a warm, aromatic flavor.
- Chocolate Delight: After baking, sprinkle ¼ cup of dark chocolate chips over the warm granola to complement the vanilla notes.
- Citrus Zest: Add 1 tablespoon of orange or lemon zest to brighten up the flavor profile of your vanilla nut granola recipe.
- Nut-Free Option: Replace nuts with pumpkin seeds or sunflower seeds for an allergy-friendly version that still delivers a delightful crunch.
Healthier Sweetener Alternatives
If you’re looking to reduce the sugar content in your vanilla nut granola recipe, here are some natural alternatives:
- Date Syrup: A rich, caramel-like sweetener that’s lower on the glycemic index, perfect for balancing the flavor.
- Coconut Nectar: Provides a mild sweetness and contains essential minerals, enhancing the wholesome quality of your granola.
- Stevia Drops: For a sugar-free alternative, add a few drops of liquid stevia and adjust the wet ingredients accordingly to maintain the texture of your vanilla nut granola recipe.
These alternatives keep the granola healthy without sacrificing flavor or texture. For more inspiration on pairing sweet and savory elements, check out our guide on what is the most popular Mexican hot sauce. You’ll find ways to balance flavors perfectly in various dishes.
Frequently Asked Questions (FAQs)
What ingredient makes granola stick together?
Natural sweeteners like honey or maple syrup act as binding agents. They coat the oats and nuts, helping clusters form as the granola bakes. Adding a small amount of oil, like coconut oil, further ensures the mixture sticks together without drying out.
Why are homemade granola not crunchy?
The most common reason is under-baking or baking at too low a temperature. To achieve the perfect crunch, bake the granola at 325°F and allow it to cool undisturbed on the tray. This cooling process helps harden the clusters naturally.
Why is granola so high in sugar?
Many store-bought granolas contain excessive refined sugars and syrups to enhance sweetness and shelf life. However, homemade granola allows you to control the sweeteners, opting for natural alternatives like honey, maple syrup, or date syrup.
Why does my homemade granola taste bitter?
Bitter granola often results from over-toasting the nuts or oats. To prevent this, bake at a lower temperature (325°F) and monitor closely during the final minutes of baking. Use high-quality, fresh nuts and oils for the best flavor.
How long does homemade granola last?
When stored in an airtight container at room temperature, homemade granola stays fresh for up to 2 weeks. For longer storage, freeze it for up to 3 months.
Can I make granola without nuts?
Absolutely! Replace nuts with seeds like pumpkin seeds, sunflower seeds, or chia seeds. You’ll still achieve a nutritious and crunchy granola.
What’s the best way to serve granola?
Granola is incredibly versatile:
- Serve with yogurt and fresh fruit for a nutritious breakfast.
- Sprinkle over smoothie bowls for added texture.
- Use as a topping for ice cream, puddings, or baked desserts.
Conclusion
This vanilla nut granola recipe, undoubtedly, is a simple yet flavorful way to elevate your breakfast or snack routine. Moreover, by combining wholesome ingredients with easy baking techniques, you can create a crunchy, nutritious treat tailored to your taste. Specifically, whether you prefer it plain, spiced, or topped with chocolate chips, this granola is altogether versatile and perfect for any occasion.
Accordingly, make a batch today, and afterward, experience the unbeatable aroma and flavor of homemade granola. After all, once you try it, you’ll undeniably never go back to store-bought versions again!

2 thoughts on “Vanilla Nut Granola Recipe: Easy, Healthy, and Delicious Guide”