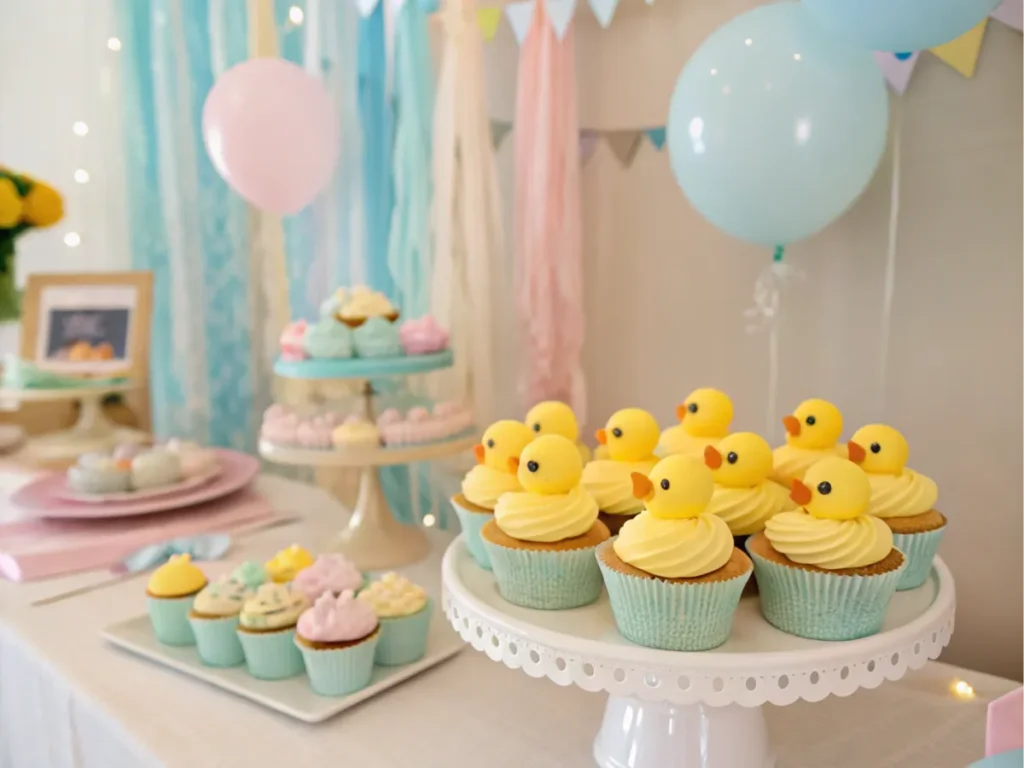
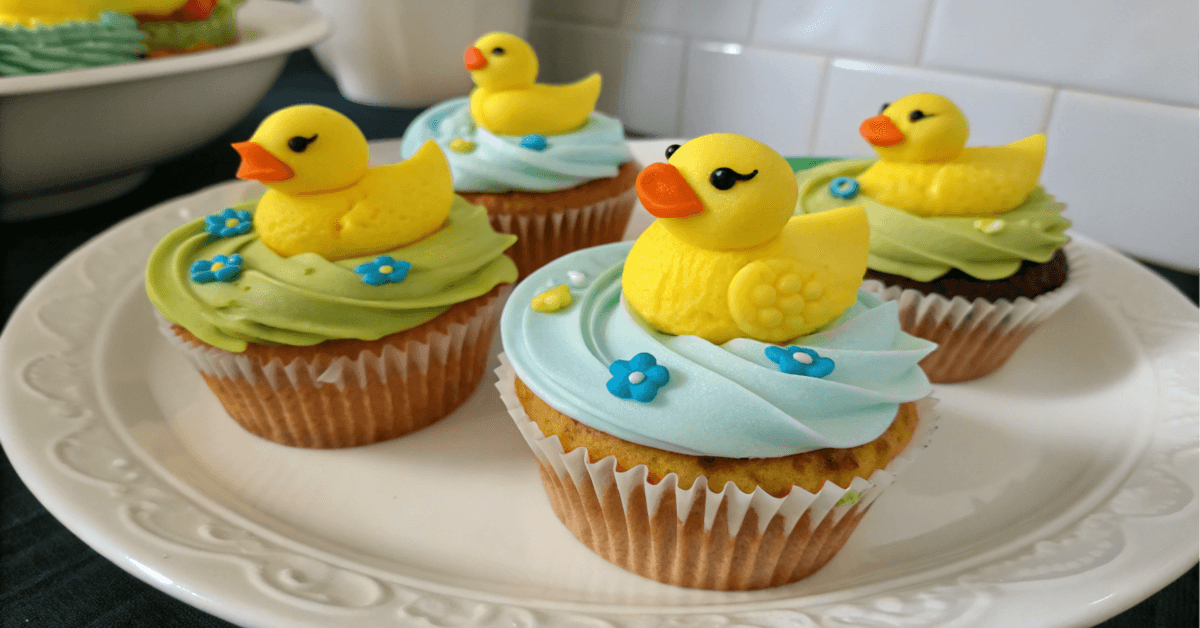
How to make rubber duck cupcakes? Rubber duck cupcakes are more than just desserts—they’re tiny works of art. Perfect for themed parties, they charm everyone with their fun, whimsical designs. Whether you’re hosting a baby shower, birthday party, or special event, these cupcakes add a playful touch. In this guide, you’ll learn everything from baking the cupcakes to crafting the fondant ducks that make them so special.
Table of contents
How to Make Rubber Duck Cupcakes: Ingredients and Step-by-Step Instructions
Before starting, make sure you have all the ingredients ready. Preparation helps avoid last-minute scrambling, which can disrupt the baking process.
Ingredients You’ll Need
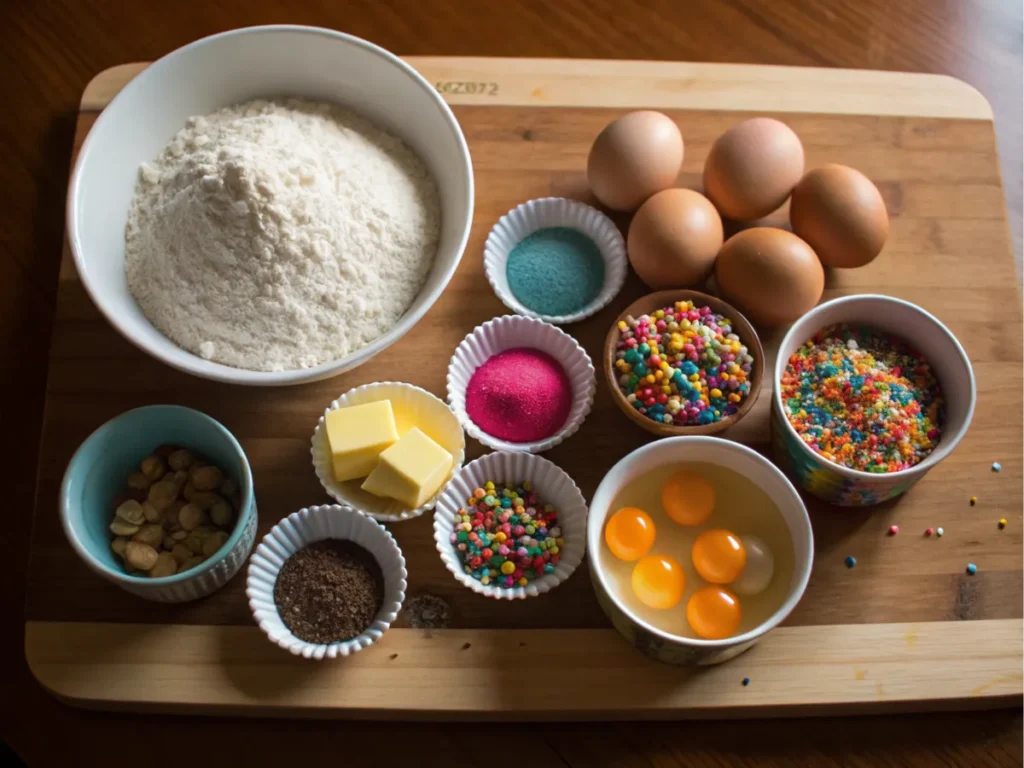
This recipe uses simple ingredients that are easy to find at your local grocery store. Moreover, here’s what you’ll need to get started:
| Ingredient | Amount | Notes |
|---|---|---|
| All-purpose flour | 2 cups | Substitute with gluten-free if needed. |
| Sugar | 1.5 cups | Granulated sugar works best. |
| Baking powder | 2 tsp | |
| Butter | 1 cup | Use unsalted butter, softened. |
| Eggs | 3 large | |
| Vanilla extract | 2 tsp | Adds a subtle flavor. |
| Milk | 1 cup | Whole milk is preferred. |
| Yellow fondant | 1 pack | For the duck decorations. |
| Edible food coloring | As needed | Optional for customization. |
These ingredients create light and fluffy cupcakes that are perfect for decorating.
Step-by-Step Instructions
1. Preheat and Prepare
Preheat your oven to 350°F (175°C) to ensure even baking. Moreover, line a cupcake tray with paper liners to make the cupcakes easy to remove. Organizing your workspace now not only saves time later but also streamlines the process.
2. Combine the Dry Ingredients
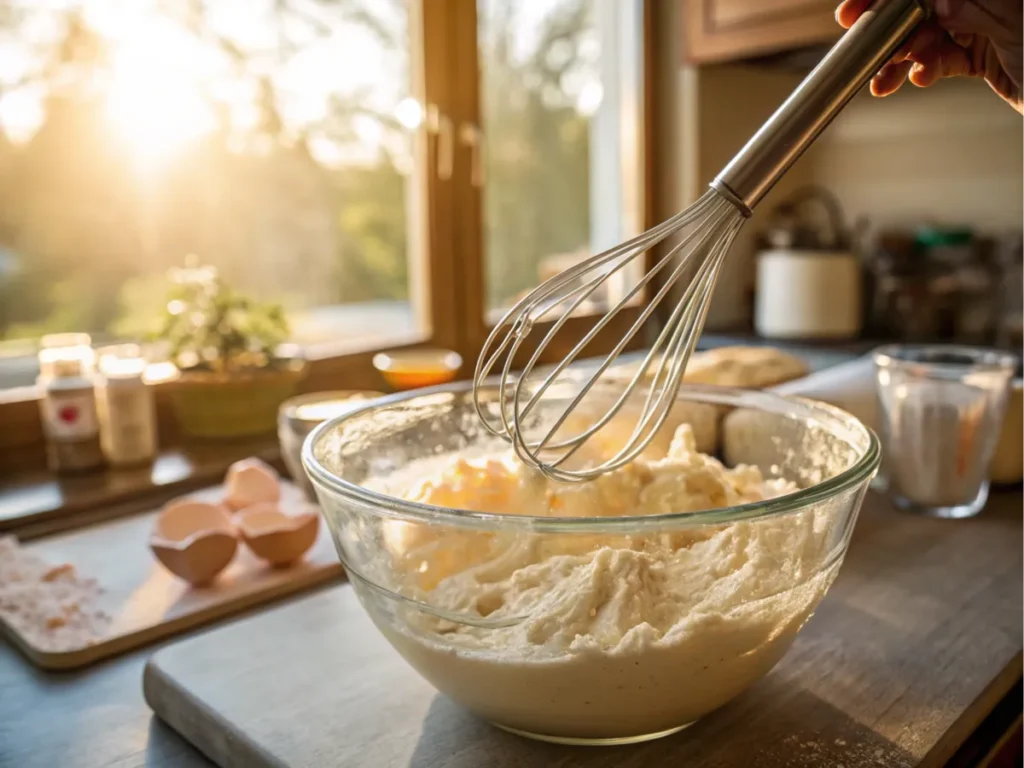
In a large mixing bowl, whisk together the flour, sugar, and baking powder. Mixing these first helps create a uniform batter later.
3. Blend the Wet Ingredients
In another bowl, cream the butter until it’s soft and fluffy. Add the eggs one at a time, mixing well after each. Stir in the vanilla extract and milk. The mixture should be smooth and creamy.
4. Mix and Combine
Slowly add the dry ingredients to the wet mixture to ensure even blending. Moreover, stir gently until the batter becomes smooth. However, be careful not to overmix, as this can make the cupcakes dense.
5. Fill and Bake
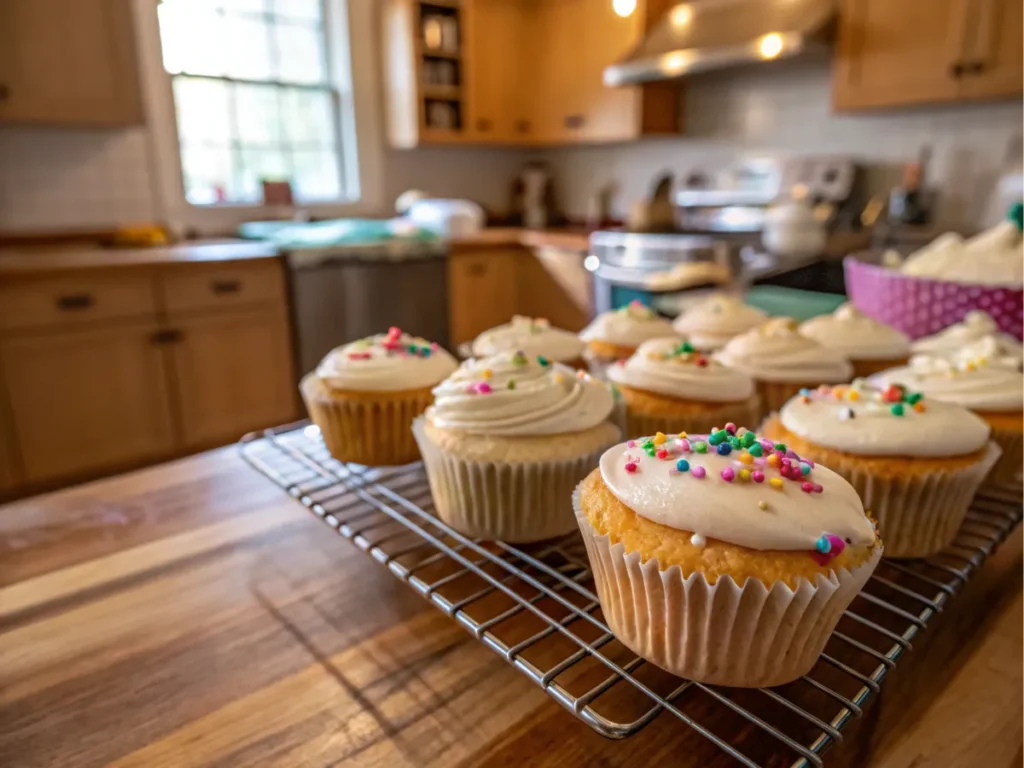
Spoon the batter into the cupcake liners, filling each about two-thirds full. Place the tray in the oven and bake for 20–25 minutes. The cupcakes are ready when a toothpick inserted into the center comes out clean. Cool them completely on a wire rack before decorating.
Creative Variations and Expert Tips for Rubber Duck Cupcakes
Once your cupcakes are baked, the real fun begins. You can personalize these cupcakes with unique flavors, designs, and decorations.
Make Them Unique
Flavors
Adding a twist to the flavor can make your cupcakes stand out:
- Citrus Delight: Add 1 tablespoon of lemon or orange zest to the batter for a zesty flavor.
- Chocolate Lovers: Mix 2 tablespoons of cocoa powder for a rich, chocolaty cupcake.
Shapes
Take your cupcakes to the next level by using silicone molds, as they simplify the process. Moreover, these molds allow you to create duck shapes directly, saving time on decorating.
Common Mistakes to Avoid
Overmixing
Stirring the batter too much can make the cupcakes dense. Mix until the ingredients are just combined.
Fondant Issues
Fondant that’s too dry can crack. To avoid this, knead it well before shaping. If it’s still dry, add a small amount of vegetable shortening.
Expert Decorating Tips
Decorating the cupcakes is the most exciting part. Here’s how to make it easier:
- Use Gel Food Coloring: Gel colors are more vibrant than liquid ones and won’t thin the fondant.
- Shape in Advance: Prepare the fondant ducks a day ahead. This saves time and lets them set properly.
For more decorating tips, check out our article on decorating cupcakes to look like baseballs.
Preparation and Decoration for Rubber Duck Cupcakes
Now that your cupcakes have cooled, it’s time to bring them to life with decorations. Moreover, the fondant ducks serve as the highlight, adding charm and personality to your creations. With a bit of patience and creativity, you can transform simple cupcakes into a stunning centerpiece for any event.
Shaping the Ducks
Creating the fondant ducks is a fun and rewarding process. Follow these steps to craft adorable and detailed toppers:
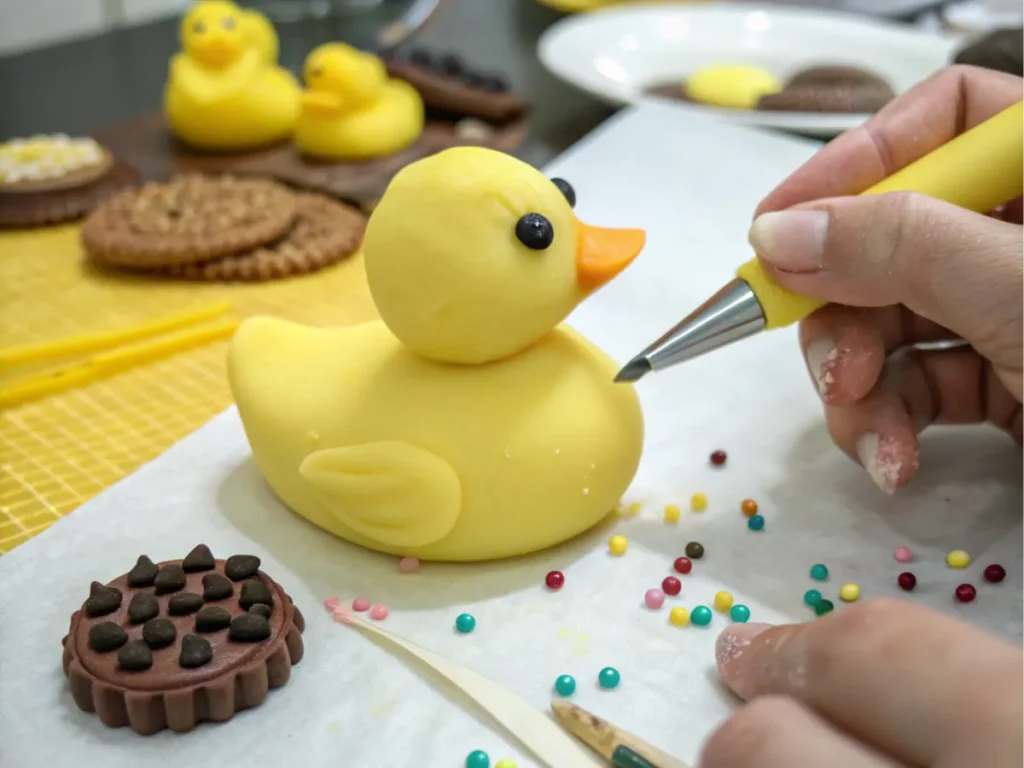
- Create the Body and Head
Roll yellow fondant into two sizes of balls—one larger for the body and a smaller one for the head. Use your fingers to gently press the bottom of the body so it sits flat on the cupcake. - Add Details
Use orange fondant to form tiny triangular beaks and small oval-shaped feet. Moreover, attach these details to the duck using edible glue or a dab of water. For added realism, create faint lines on the feet using a toothpick or fondant tool to enhance texture. - Finish with Eyes
Dip a fine-tip food-safe pen or brush in black food coloring to draw small round eyes. Alternatively, use tiny dots of black fondant to create a 3D effect. Moreover, position the eyes evenly to achieve a balanced and lifelike look. - Optional Accessories
Add flair by crafting tiny accessories, such as hats, scarves, or bow ties, from differently colored fondant. These little details can help tailor the ducks to the theme of your event, whether it’s a baby shower, birthday, or holiday celebration.
Assembly
Once your fondant ducks are complete, it’s time to assemble the cupcakes. This final step ties together all your efforts and ensures your creations are party-ready.
- Prepare the Frosting
Spread a generous layer of buttercream frosting on each cupcake using a spatula or piping bag. Moreover, the frosting provides a smooth and sticky surface that helps secure the decorations firmly in place. - Position the Ducks
Gently place a fondant duck on top of each frosted cupcake. Press lightly to ensure it adheres but be careful not to squish the frosting or the fondant. - Add Final Touches
Sprinkle edible glitter or sugar pearls around the base of the duck for a touch of sparkle. For themed events, you can also add small edible decorations, such as flowers, stars, or tiny fondant balls. - Display with Style
Arrange the completed cupcakes on a tiered stand or decorative tray to make them the centerpiece of your dessert table. Moreover, consider adding themed decorations around the display to enhance the overall visual appeal.
For even more creative ideas, explore our comprehensive baseball cupcakes guide. It’s packed with tips and inspiration to spark your creativity for themed treats.
How to make rubber duck cupcakes? Pro Tips and Creative Variations
Rubber duck cupcakes serve as a blank canvas for your creativity. Moreover, adding personalized decorations, playing with unique color combinations, or experimenting with flavors can make these cupcakes the highlight of any party. Whether you’re baking for a birthday, a baby shower, or a festive gathering, these tips and ideas will undoubtedly elevate your cupcakes to the next level.
Practical Tips for Shaping Fondant Ducks
Creating fondant ducks might seem tricky, but these tips make the process easier and more enjoyable:
- Start Small
Begin with simple shapes like spheres for the body and head to make the process manageable. Moreover, as you gain confidence, you can add more detailed features like beaks and wings to enhance the design. - Keep Tools Handy
Use basic tools such as toothpicks, small knives, and fondant smoothers. These tools help shape precise details, like creating eyes or adding texture to the ducks’ wings. - Work with Fresh Fondant
Fresh fondant is softer and easier to shape, making it ideal for detailed work. Moreover, if it starts to dry or crack, knead in a small amount of vegetable shortening to restore its flexibility. - Use Edible Markers for Details
For small features like eyes, edible markers are a lifesaver. They’re easier to control than food coloring brushes and ensure clean, crisp details.
Creative Decorating Ideas
Rainbow Ducks
Brighten your cupcakes with vibrant, multi-colored ducks to make them stand out. Moreover, split the fondant into sections and color each portion with gel food coloring. Knead the color into the fondant until it is evenly distributed for a smooth, consistent finish.
Seasonal Themes
Tailor your ducks to the season or event. For example:
- Winter Wonderland: Add tiny fondant scarves or hats.
- Spring Vibes: Pair ducks with pastel fondant flowers.
- Summer Fun: Add tiny sunglasses and edible beach balls.
Party Accessories
Give your ducks extra flair with fondant bow ties, party hats, or balloons. These additions make the cupcakes even more fun and memorable.
For more dessert inspiration, explore our tips for creating the best birthday cakes. They’re full of ideas for festive, eye-catching designs.
FAQs About Rubber Duck Cupcakes
If you’re new to making themed cupcakes, you might have questions about the process. Moreover, below, we’ve answered the most common ones to ensure your cupcakes turn out perfectly and stress-free.
How to Make Cupcakes in Silicone Molds?
Silicone molds are excellent for creating unique shapes. To get the best results:
- Prepare the Molds
Grease the molds lightly with non-stick spray or butter. This prevents sticking and makes it easier to remove the cupcakes once baked. - Fill the Molds Carefully
Fill each mold about two-thirds full with batter. This prevents overflow while still allowing the cupcakes to rise beautifully. - Bake with Stability
Place the silicone molds on a sturdy baking tray. This helps keep the molds steady and ensures even baking. - Cool Before Removing
Allow the cupcakes to cool completely before taking them out of the molds. Warm cupcakes are more likely to break apart.
What Makes a Rubber Duck Squeak?
Rubber ducks squeak because of a small air valve inside. When squeezed, air escapes through the valve, creating the squeaking sound. While this feature isn’t directly relevant to cupcakes, adding squeaky ducks as party favors alongside your desserts is always a hit.
How Do You Dry Rubber Ducks?
If you’re using rubber ducks as toppers or decorations, it’s essential to keep them clean and dry. Moreover, after washing, shake out any excess water and let them air dry completely. This prevents mold and ensures they stay fresh and presentable.
How Do You Make Rubber Duck Soap?
Rubber duck soap is a great addition to themed events. Here’s how to make it:
- Melt clear glycerin soap in a microwave-safe bowl.
- Pour the melted soap into a mold.
- Place a small rubber duck into the soap-filled mold and let it set.
These cute soaps make excellent party favors or gifts.
What Frosting Works Best for Fondant Decorations?
Buttercream frosting is ideal for these cupcakes because it’s sturdy enough to hold fondant ducks in place. Moreover, it provides a smooth surface for decorating. Plus, it’s easy to flavor or color to match your theme, making it versatile and convenient.
Can I Make Fondant Ducks Ahead of Time?
Absolutely, fondant decorations can be made up to three days in advance. Moreover, store them in an airtight container lined with parchment paper to prevent drying or cracking.
What’s the Best Way to Store Cupcakes?
If you’re not serving your cupcakes immediately, store them in an airtight container to keep them fresh. Moreover, keep undecorated cupcakes at room temperature, and refrigerate decorated ones to maintain the integrity of the frosting and fondant.
Conclusion
Rubber duck cupcakes are not just desserts—they’re a centerpiece, a conversation starter, and a treat that brings joy to any event. Moreover, by following this guide, you’ve learned how to bake light and fluffy cupcakes, shape adorable fondant decorations, and explore creative variations to match your theme seamlessly.
From birthday parties to baby showers, these cupcakes are sure to impress guests and create lasting memories. For even more ideas, discover why travel cakes are perfect for special occasions. These versatile treats can add another layer of fun to your celebrations.
For even more ideas, explore the history and variations of cupcakes in the Wikipedia page on Cupcakes.
