What is the difference between a travel cake and a normal cake? Imagine heading out on a long journey, craving something sweet yet durable enough to withstand the trip. Enter the travel cake—a culinary creation that delivers portability, longevity, and, most importantly, taste. Unlike the frosted delicacies bakers prepare for celebrations, travel cakes chiefly focus on practicality while maintaining bold flavors. This article explores the key differences between travel cakes and normal cakes, explicitly examining their origins, ingredients, and uses. Whether you bake often or feel curious, this guide will enrich your understanding of both cake types.
Table of contents
What Is a Travel Cake?
Origins and History
Travel cakes, also known as journey cakes, have deep historical roots that stretch back centuries. These cakes were crafted to endure long voyages, predating modern refrigeration and convenience foods. Designed to sustain explorers, sailors, and travelers, they became an essential part of provisions for anyone embarking on lengthy journeys.
European fruitcakes, dense nut-based loaves, and honey cakes from the Middle East certainly represent some of the earliest examples of travel cakes. These recipes chiefly emphasized ingredients that naturally preserved themselves, such as dried fruits, nuts, and sugar. For instance, the British pound cake—a type of travel cake—gained its name from the simple recipe requiring a pound each of flour, sugar, butter, and eggs. Because of its sturdy structure and rich flavor, it explicitly became an ideal choice for travel.
Today, the travel cake has evolved but remains rooted in its practicality. Its focus on longevity and rich, dense flavors has earned it a place in households worldwide, not just for travel but also as a comforting snack or gift.
What is the difference between a travel cake and a normal cake? Key Features and Differences
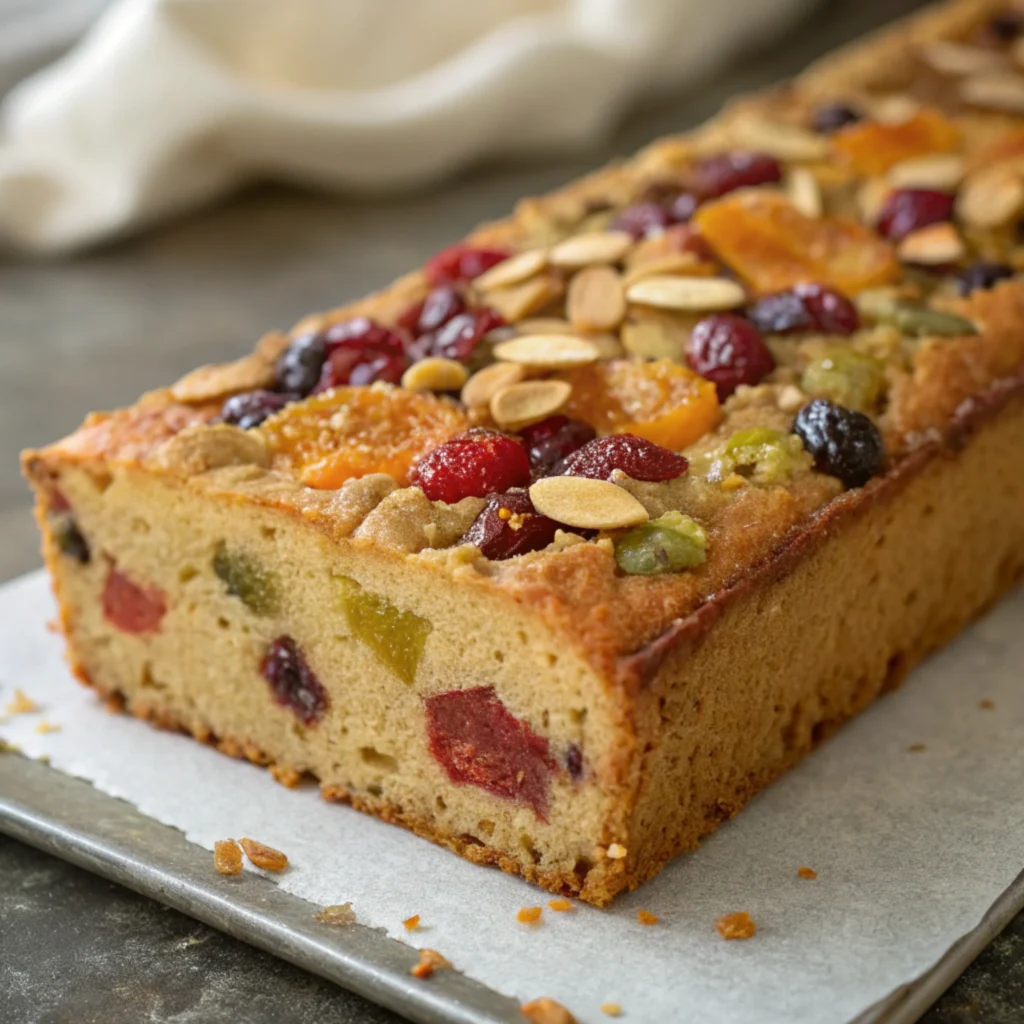
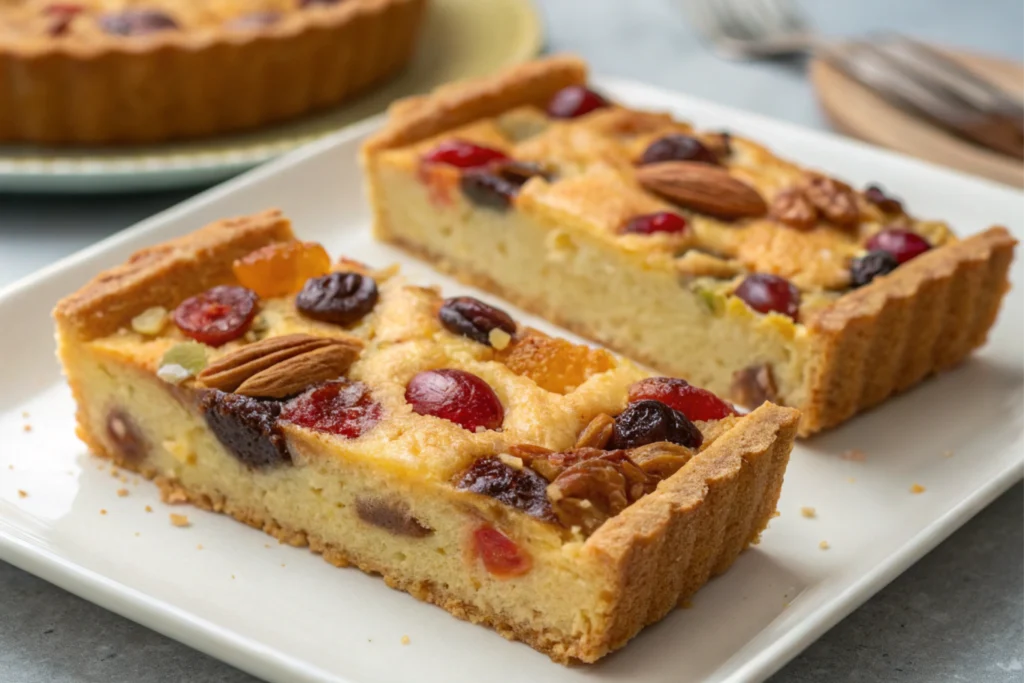
A travel cake stands apart due to its thoughtful design and practical features. Unlike normal cakes, which are prone to crumbling or going stale quickly, travel cakes are built to last. Their dense texture and careful selection of ingredients make them uniquely suited for rough handling and long shelf lives.
Key characteristics include:
- Sturdy Texture: Designed to prevent crumbling, even during transit.
- Long Shelf Life: Made with less water and perishable ingredients, allowing weeks of freshness.
- Natural Preservation: Ingredients like dried fruits, nuts, and sugar extend its edibility.
- Rich, Layered Flavors: Spices like cinnamon, nutmeg, and clove elevate the taste.
A great starting point for understanding these cakes is the rich cultural history behind them. You can explore more in this detailed guide about why they are called travel cakes.
What Is a Normal Cake?
Purpose and Popularity
Normal cakes undeniably serve as culinary delights that explicitly celebrate indulgence and joy. Picture the soft layers of a birthday cake, the moist crumb of a carrot cake, or the light, airy sponge of a tea cake. Bakers chiefly design these cakes to be enjoyed fresh, often pairing them with frostings, fillings, and decorations that significantly boost their appeal.
Normal cakes synonymously represent special occasions—birthdays, weddings, anniversaries, and other celebrations. Each type, from layered chocolate cakes to simple pound cakes, explicitly delivers its own charm and significance. Unlike travel cakes, bakers primarily focus on visual and textural delight rather than durability when creating these cakes.
Ingredients and Preparation
Normal cakes rely heavily on fresh ingredients like milk, cream, eggs, and butter to achieve their characteristic light and moist textures. Leavening agents such as baking powder or whipped egg whites help create a soft, fluffy structure. However, this reliance on moisture-rich components also makes them perishable and unsuitable for long-term storage.
Common ingredients in normal cakes include:
- Milk and cream for moisture and flavor.
- Whipped butter or oil to create a soft crumb.
- Frostings and icings for decorative and flavor enhancements.
While normal cakes delight the senses, their delicate nature makes them best suited for immediate consumption or refrigeration.
What Sets a Travel Cake Apart?
Durability and Storage
A travel cake stands out for its unparalleled durability. It withstands time and temperature fluctuations, making it the perfect companion for long journeys. Unlike frosted normal cakes that lose their structure or freshness within a day or two, a travel cake stays fresh for weeks with proper storage.
This longevity is achieved through:
- Low Moisture Content: Minimizing perishable components prevents spoilage.
- High Sugar Content: Acts as a natural preservative while adding sweetness.
- Dense Textures: Less prone to breaking, even under rough handling.
For those who love to bake, understanding the structural difference between these cakes can open up new avenues for experimentation. For instance, travel cakes are less affected by humidity and temperature changes, making them ideal for outdoor events and casual snacking.
Ingredients and Preparation Techniques
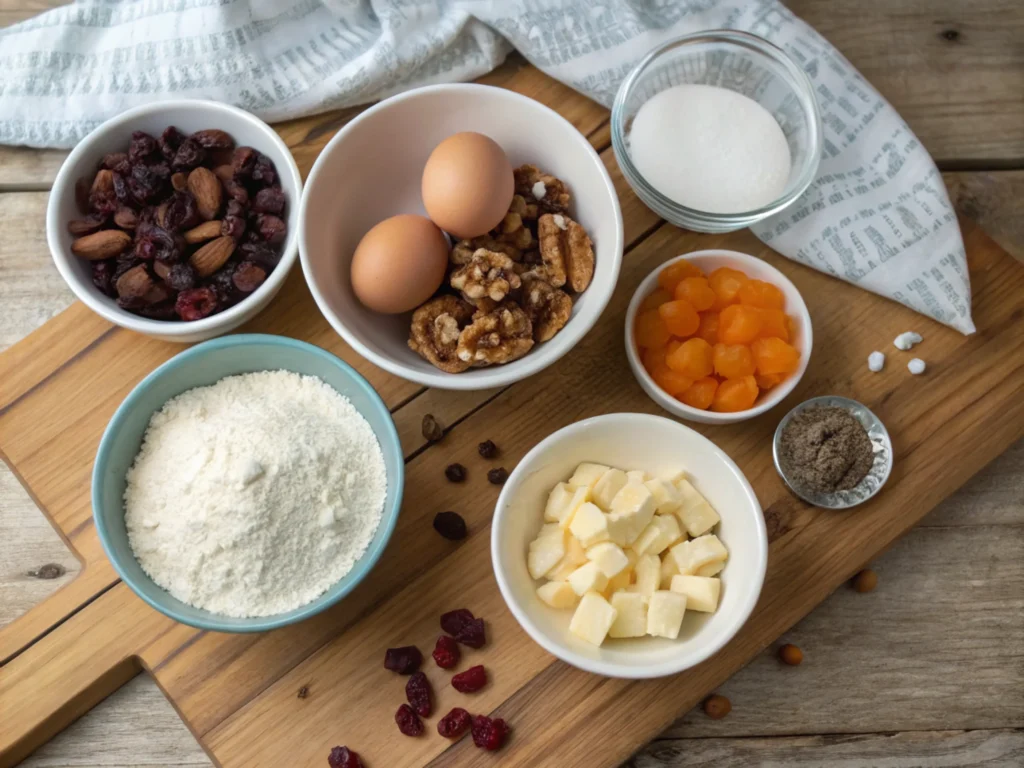
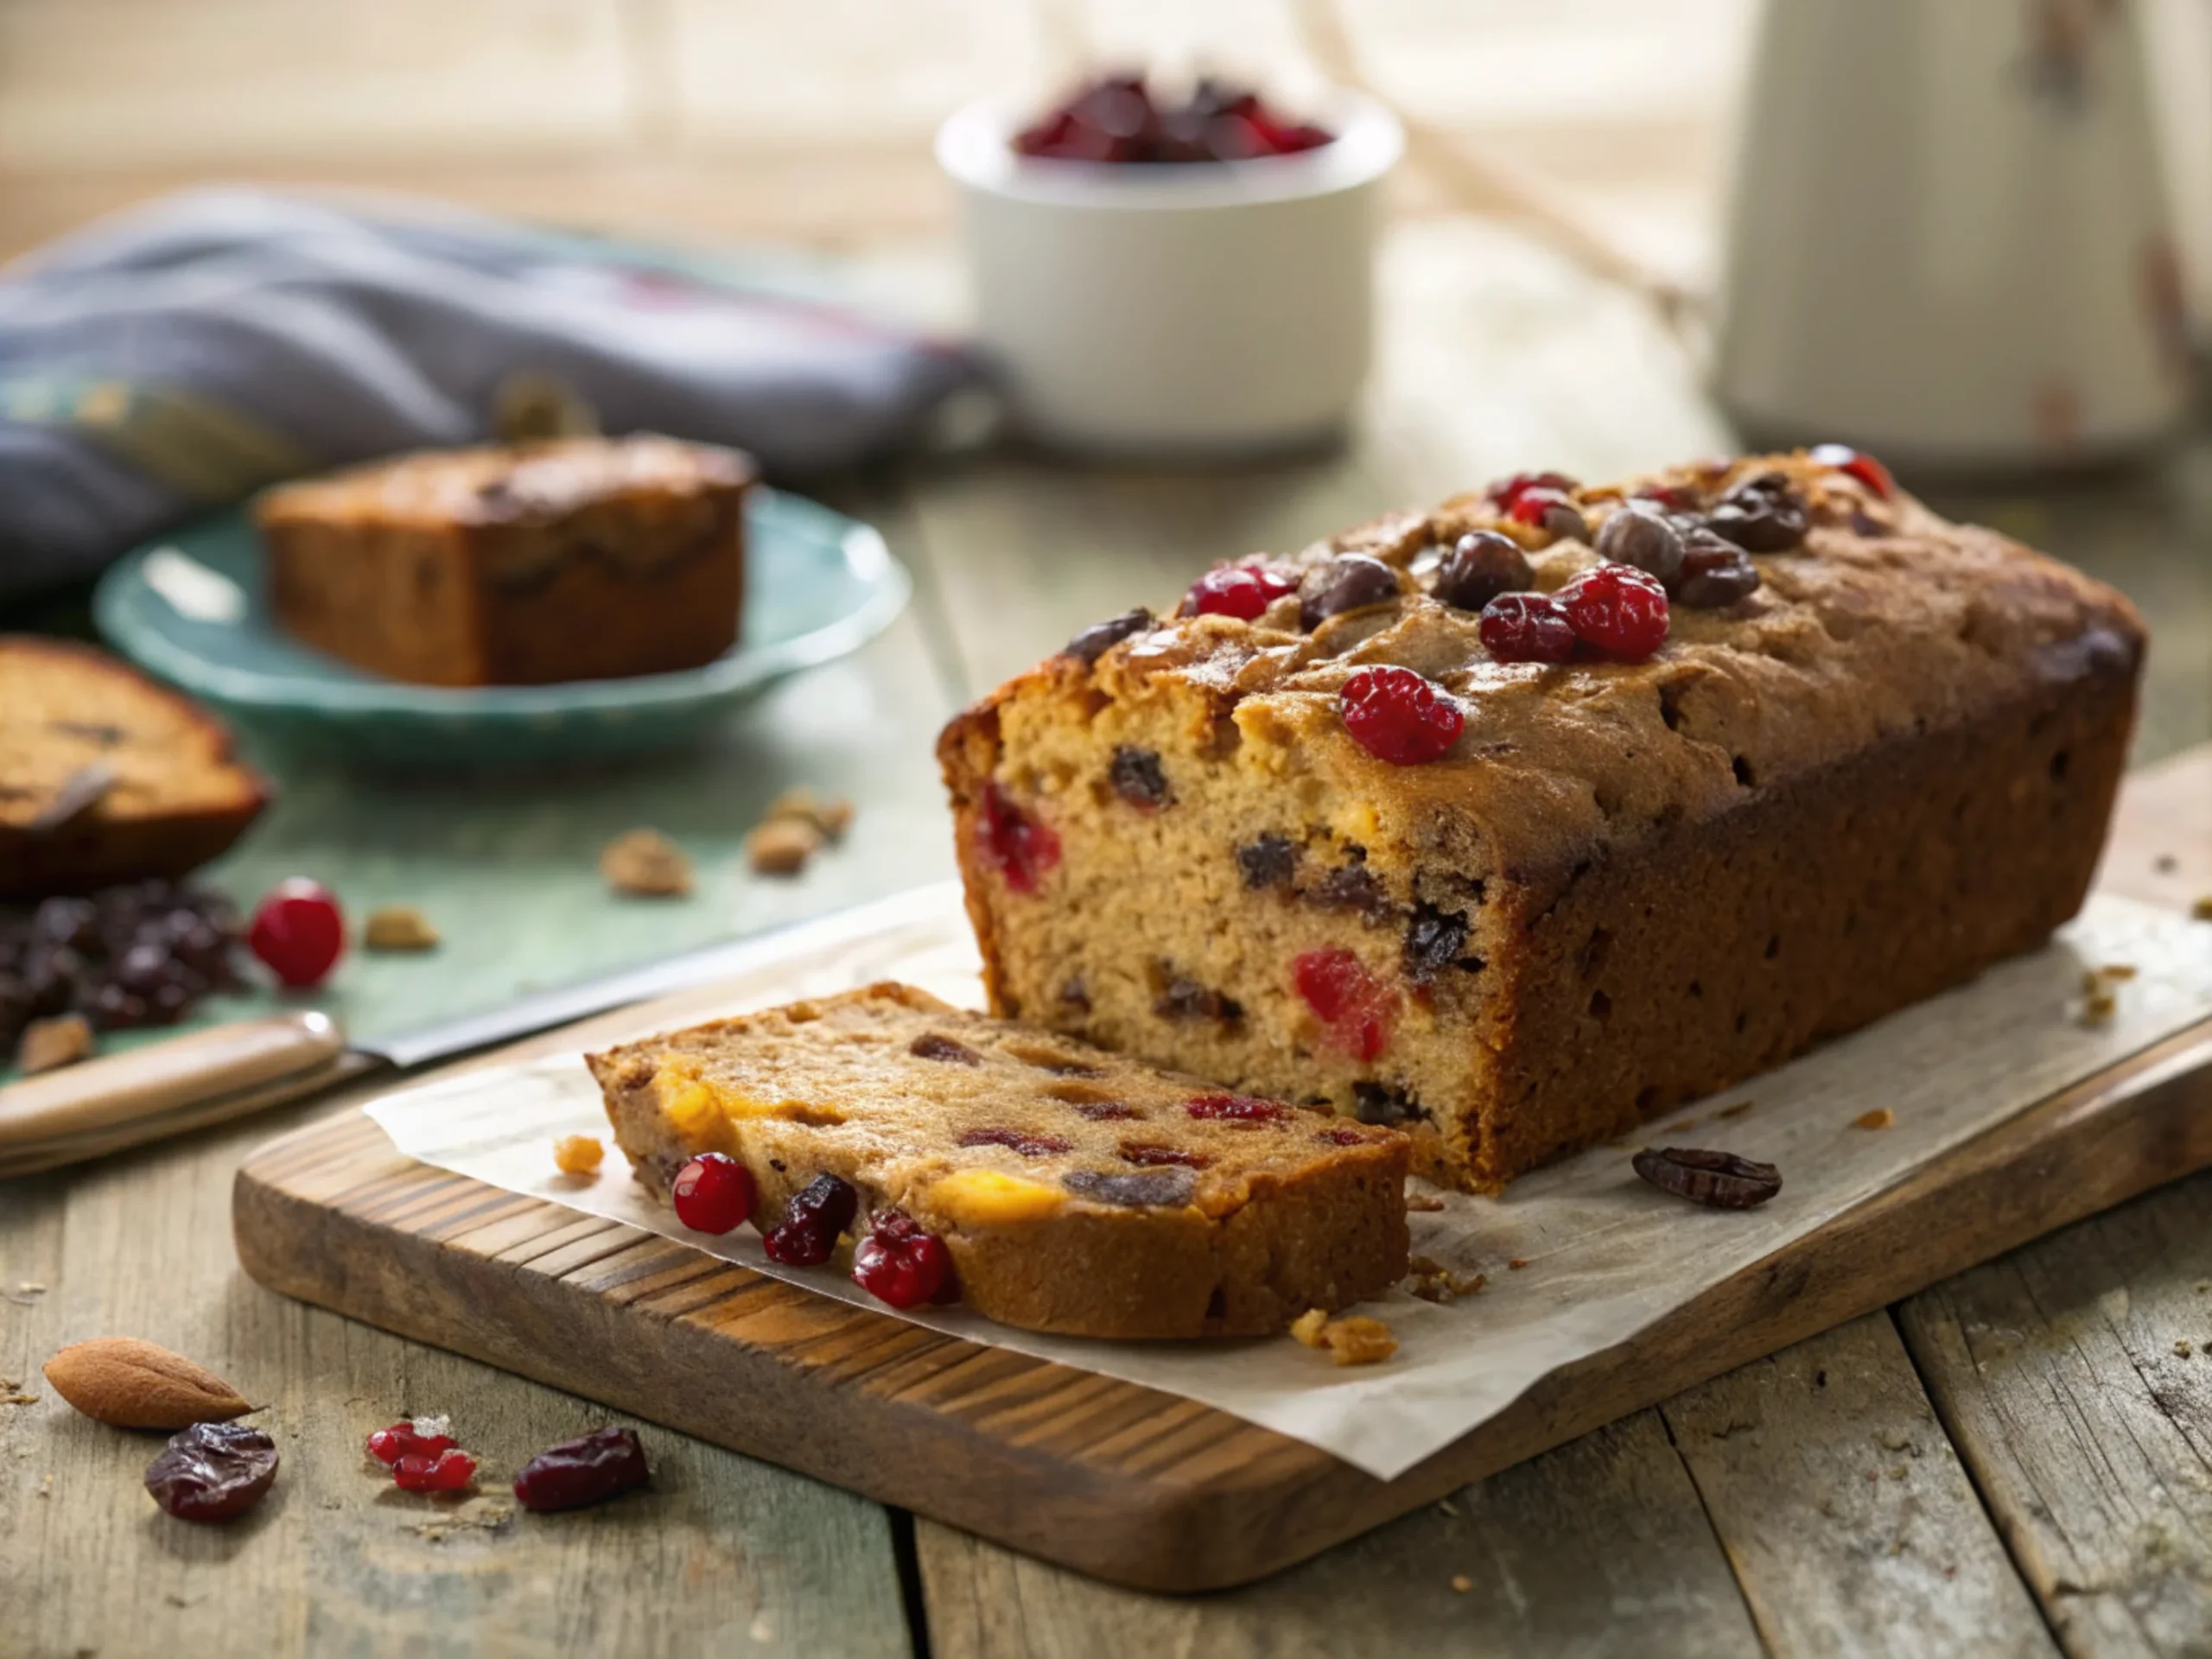
The recipe for a travel cake emphasizes durability and flavor. Unlike normal cakes, travel cakes avoid highly perishable items and instead focus on ingredients with long-lasting properties. For example, dried fruits and nuts are excellent choices for their natural sweetness, chewiness, and ability to stay fresh.
Typical Ingredients for Travel Cakes:
- Dried Fruits and Nuts: Add flavor and texture while extending shelf life.
- Spices: Cinnamon, nutmeg, and cloves provide a rich, aromatic profile.
- Minimal Moisture: Recipes often exclude milk and cream to prevent quick spoilage.
- Alcohol (optional): Brandy or rum is sometimes added to enhance preservation and flavor.
A simple travel cake recipe might look like this:
Ingredients:
- 2 cups of all-purpose flour
- 1 cup of dried fruits (raisins, apricots, or cranberries)
- 1/2 cup of chopped nuts (walnuts or pecans)
- 1 cup of sugar
- 1 cup of butter, softened
- 4 large eggs
- 1 teaspoon cinnamon
- 1/2 teaspoon nutmeg
- 1 teaspoon vanilla extract
Instructions:
- Preheat your oven to 350°F (175°C).
- Cream the butter and sugar until light and fluffy. Add the eggs one at a time, mixing well after each addition.
- In a separate bowl, mix the dry ingredients: flour, cinnamon, and nutmeg.
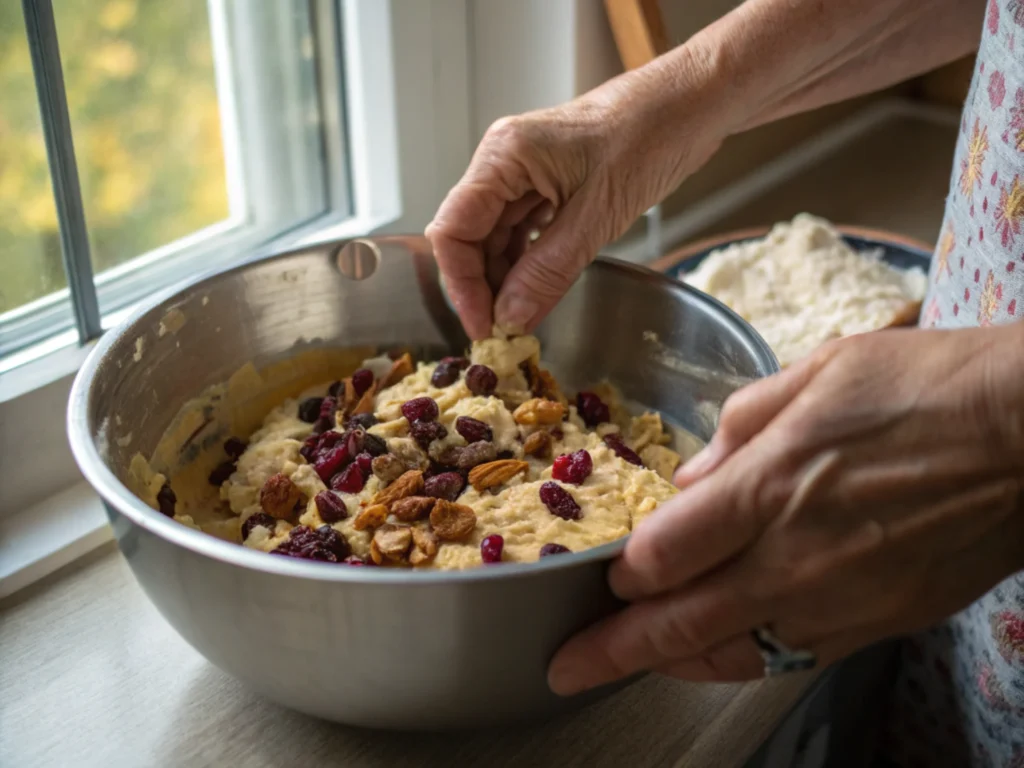
- Gradually add the dry ingredients to the wet mixture, folding in dried fruits and nuts at the end.
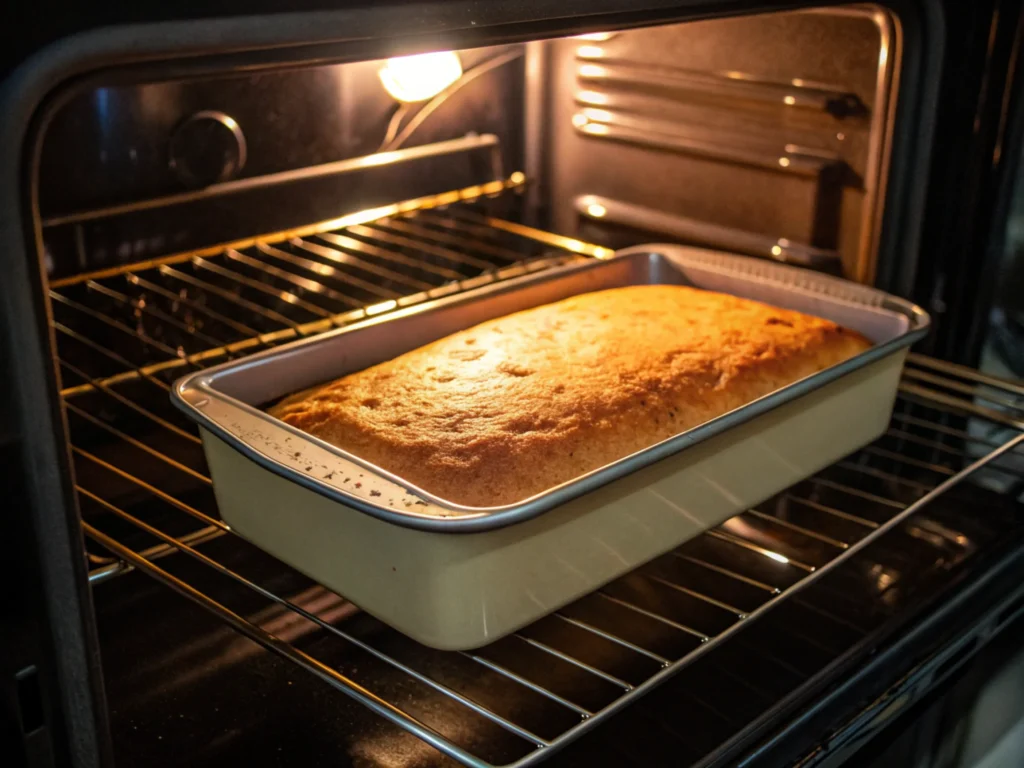
- Pour the batter into a greased loaf pan and bake for 45–55 minutes, or until a toothpick inserted into the center comes out clean.
This recipe reflects the simplicity and sturdiness of travel cakes, making it ideal for gifting or enjoying over time.
Why Travel Cakes Are Perfect for Long Journeys
Travel cakes are ideal for anyone looking for a hassle-free, long-lasting snack. Whether you’re heading on a hiking trip, a long train ride, or a picnic, these cakes are your answer to portable indulgence. They pack neatly into containers, resist crumbling, and can withstand various weather conditions, unlike frosted or cream-filled cakes.
In contrast, normal cakes thrive on immediacy. Their visual appeal and intricate textures make them the centerpiece of celebrations, but their fragility limits their practical uses.
For more ideas and recipes, explore this detailed travel cake guide for practical tips and inspiration.
Ideal Occasions for Travel Cakes vs. Normal Cakes
When to Choose a Travel Cake
Travel cakes are best suited for occasions that require portability and durability. Whether you’re embarking on a long road trip, planning a picnic, or even looking for a hearty snack to take on a hike, travel cakes shine in such scenarios. Their dense texture and long shelf life make them ideal for enduring varying environments without compromising on taste.
These cakes are also perfect for gifting, especially during holidays or celebrations, as they can be prepared well in advance. Seasonal variations, such as spiced fruit travel cakes during winter, add a festive touch to their practical appeal.
When to Opt for a Normal Cake
On the other hand, normal cakes are more fitting for celebrations and events where freshness and visual appeal take precedence. Birthdays, weddings, anniversaries, and other social gatherings often call for soft, frosted cakes that can be enjoyed immediately. Their delicate textures and intricate designs make them a centerpiece for any celebration.
However, normal cakes are less practical for extended storage or transportation, as they tend to lose their structure and freshness within a few days.
For more inspiration on cake options, explore this collection of birthday cake ideas.
How to Make a Travel Cake: Step-by-Step
Creating a travel cake at home is simpler than you might think. By focusing on durable ingredients and proper techniques, you can craft a delicious and long-lasting treat.
Recipe Basics
While the exact recipe may vary, the principles remain consistent: use minimal moisture, incorporate natural preservatives like sugar and dried fruits, and bake at a low, steady temperature. Below is a step-by-step guide to making a classic fruit and nut travel cake:
Ingredients:
- 2 cups of all-purpose flour
- 1 cup of dried fruits (such as raisins, apricots, and cranberries)
- 1/2 cup of chopped nuts (e.g., walnuts or almonds)
- 1 cup of sugar
- 1 cup of softened butter
- 4 large eggs
- 1 teaspoon cinnamon
- 1/2 teaspoon nutmeg
- 1 teaspoon vanilla extract
Instructions:
- Prepare the Batter: Begin by creaming the butter and sugar until light and fluffy. Add eggs one at a time, mixing thoroughly after each addition.
- Mix Dry Ingredients: In a separate bowl, combine flour, cinnamon, and nutmeg. Gradually add this to the wet mixture.
- Fold in Additions: Gently fold in the dried fruits and nuts, ensuring even distribution.
- Bake the Cake: Pour the batter into a greased loaf pan and bake in a preheated oven at 350°F (175°C) for 45–55 minutes. Check for doneness with a toothpick.
Tips for Perfect Results
- Use high-quality dried fruits to enhance the cake’s flavor and texture.
- Toast the nuts beforehand for an added layer of richness.
- Store the cake in an airtight container for maximum freshness.
Pro Tips & Variations
Travel cakes are incredibly versatile, allowing for creative variations to suit personal tastes. Here are some ideas to elevate your travel cake:
Flavor Variations
- Chocolate Marble: Add cocoa powder to half the batter and swirl it in for a rich, chocolaty twist.
- Citrus Infusion: Use orange or lemon zest for a bright, tangy flavor.
- Spiced Delight: Increase the spice blend with cardamom, ginger, or allspice for a warming aroma.
Serving Suggestions
- Pair a slice of travel cake with hot tea or coffee for a comforting snack.
- Serve with whipped cream or a dollop of yogurt for added indulgence.
For more creative ideas and recipes, explore this delightful guide to making kefir sheet cakes.
FAQs: All You Need to Know
Why Is It Called a Travel Cake?
Travel cakes are named for their portability and durability. Historically, they were designed to sustain long voyages and provide nourishment without spoiling, making them ideal for travelers.
What Is a Traveling Cake?
A traveling cake is a dense, long-lasting baked good made with durable ingredients like dried fruits and nuts. It’s crafted to endure transport and varying climates without losing its flavor or texture.
What Are the Two Main Types of Cake?
Cakes are generally categorized into two types:
- Normal Cakes: Soft, airy cakes designed for immediate consumption, often decorated with frosting or fillings.
- Travel Cakes: Dense, durable cakes meant for storage and portability.
What Is the Difference Between Tea Cake and Travel Cake?
While tea cakes are often soft, light, and meant to be paired with tea, travel cakes are denser and designed for longevity. Tea cakes are more delicate and must be consumed fresh, whereas travel cakes can last weeks.
How Long Can a Travel Cake Last Without Refrigeration?
Travel cakes can typically last 2–4 weeks without refrigeration, thanks to their low moisture content and preservative ingredients like sugar and dried fruits. Proper storage in an airtight container further extends their shelf life.
Can You Make a Frosted Travel Cake?
While it’s possible to frost a travel cake, doing so may compromise its portability and shelf life. For long journeys, it’s best to enjoy the cake as is or with minimal decoration.
Conclusion
Travel cakes and normal cakes each hold a special place in the world of baking. While normal cakes shine in celebratory moments with their soft textures and decorative appeal, travel cakes stand out for their practicality and rich, enduring flavors. By understanding the key differences between these two types of cakes, you can choose—or bake—the perfect one for any occasion.
Whether you’re planning an adventure or simply want a treat that lasts, travel cakes are a timeless choice. So why not try baking one today and experience their unique charm for yourself? For more information on baking and food preservation, check out the USDA’s Guide to Baking and Food Storage.

3 thoughts on “What Is the Difference Between a Travel Cake and a Normal Cake?”