Why are homemade granola not crunchy? This is a common frustration among home cooks who expect a crisp, golden-brown texture but end up with something too soft or chewy. Granola is a delicious staple for breakfast and snacks, celebrated for its satisfying crunch and versatility. However, if your homemade granola lacks that signature crisp texture, don’t worry—you’re not alone! In this comprehensive guide, we’ll break down the reasons your granola may not be turning out crunchy and offer solutions, including a foolproof recipe, practical tips, and troubleshooting techniques to ensure your granola is perfect every time.
Table of contents
Why Does Homemade Granola Lose Its Crunchy Texture?
Crunchy granola, undoubtedly, doesn’t happen by accident. Instead, it relies on a careful balance of ingredients, proper technique, and thoughtful storage. Moreover, if even one element is off, you may end up with granola that’s soft or chewy instead of delightfully crispy. Therefore, let’s explore the most common reasons homemade granola fails to achieve that desired crunch.
1. Incorrect Baking Temperature
The right baking temperature, undoubtedly, is crucial. Specifically, if the oven temperature is too low, the granola doesn’t dry out enough to crisp up. Additionally, baking at a temperature under 300°F is often the culprit behind soft granola. Conversely, baking at too high a temperature—over 350°F—can burn the outer edges while leaving the center undercooked.
Pro Tip: Use an oven thermometer to ensure your oven is accurate. Many ovens run slightly hotter or cooler than their settings indicate.
2. Skipping Stirring During Baking
Granola needs to be stirred during baking to ensure even heat distribution. Without stirring, some parts may brown too quickly while others remain pale and undercooked. This uneven cooking creates an inconsistent texture, with some clusters soft and others overly crisp.
Tip: Stir your granola every 10–15 minutes while it bakes. This simple step ensures all ingredients toast evenly.
3. Using Too Much Liquid
Adding too much oil, honey, or syrup can weigh down the granola. While these ingredients are essential for binding and flavor, overusing them introduces unnecessary moisture that prevents the granola from drying out properly.
Pro Tip: Stick to the recommended amounts in your recipe. Adjusting these ratios can have a significant impact on the final texture.
4. Storing While Warm
Storing granola before it cools completely is a common mistake. Warm granola releases steam, and when trapped in a container, this moisture can make the granola soggy.
Solution: Allow granola to cool fully on the baking tray for at least 30–45 minutes before transferring it to an airtight container.
5. Using High-Moisture Ingredients
Fresh fruits, wet sweeteners, or even certain oils can introduce more moisture than granola can handle. While these ingredients are delicious, they can prevent the oats, nuts, and seeds from crisping up.
Pro Tip: Add dried fruits, chocolate chips, or other delicate ingredients only after the granola has finished baking and cooling.
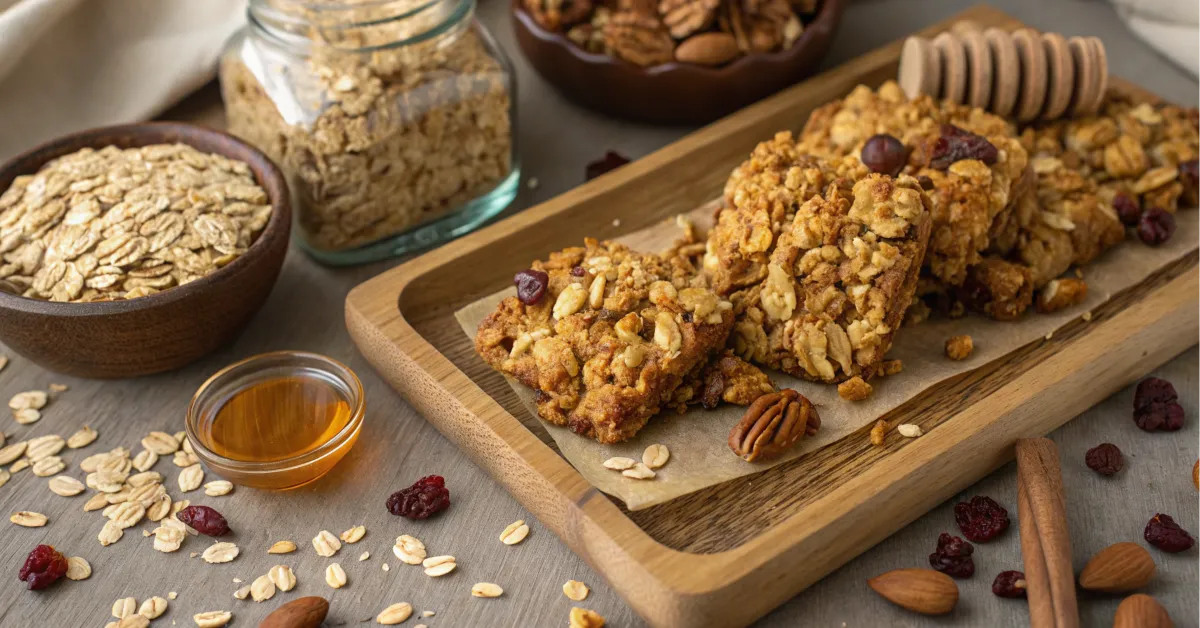
[Image 1 Placeholder: Ultra-realistic close-up photo of golden-brown granola with a crispy texture, artistically plated on a wooden tray.]
The Ultimate Recipe for Homemade Granola That’s Perfectly Crunchy
Perfect granola, undoubtedly, starts with the right recipe. Moreover, the balance of ingredients, proper baking technique, and careful cooling are all essential for achieving that satisfying crunch.
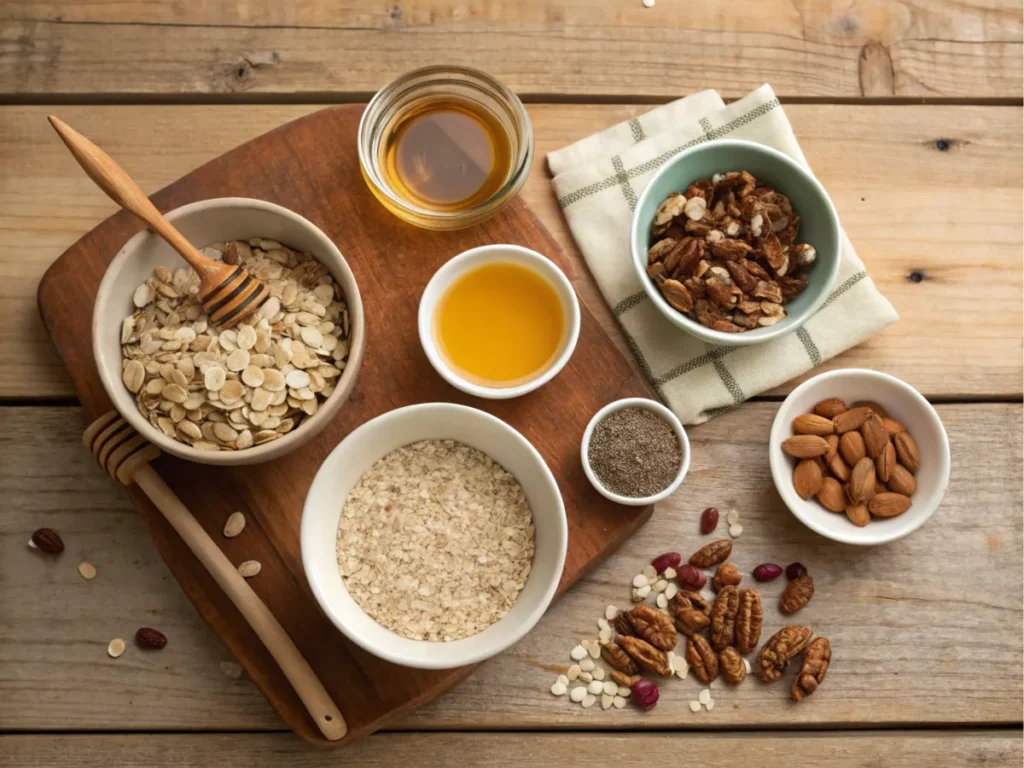
Ingredients
Here’s what you’ll need for this foolproof recipe:
| Ingredient | Amount | Notes |
|---|---|---|
| Rolled oats | 3 cups | Use old-fashioned oats |
| Honey or syrup | 1/3 cup | Adjust sweetness to taste |
| Olive oil | 1/4 cup | Substitute with coconut oil if preferred |
| Nuts (e.g., almonds, pecans) | 1 cup | Choose your favorites |
| Seeds (e.g., sunflower, pumpkin) | 1/2 cup | Optional for added crunch |
| Dried fruits | 1/2 cup | Add after baking |
| Salt | 1/2 tsp | Enhances flavors |
Instructions
- Preheat Your Oven: Set your oven to 325°F (163°C). Line a baking tray with parchment paper for easy cleanup.
- Combine Ingredients: In a large mixing bowl, combine oats, nuts, seeds, salt, honey, and oil. Stir until everything is evenly coated.
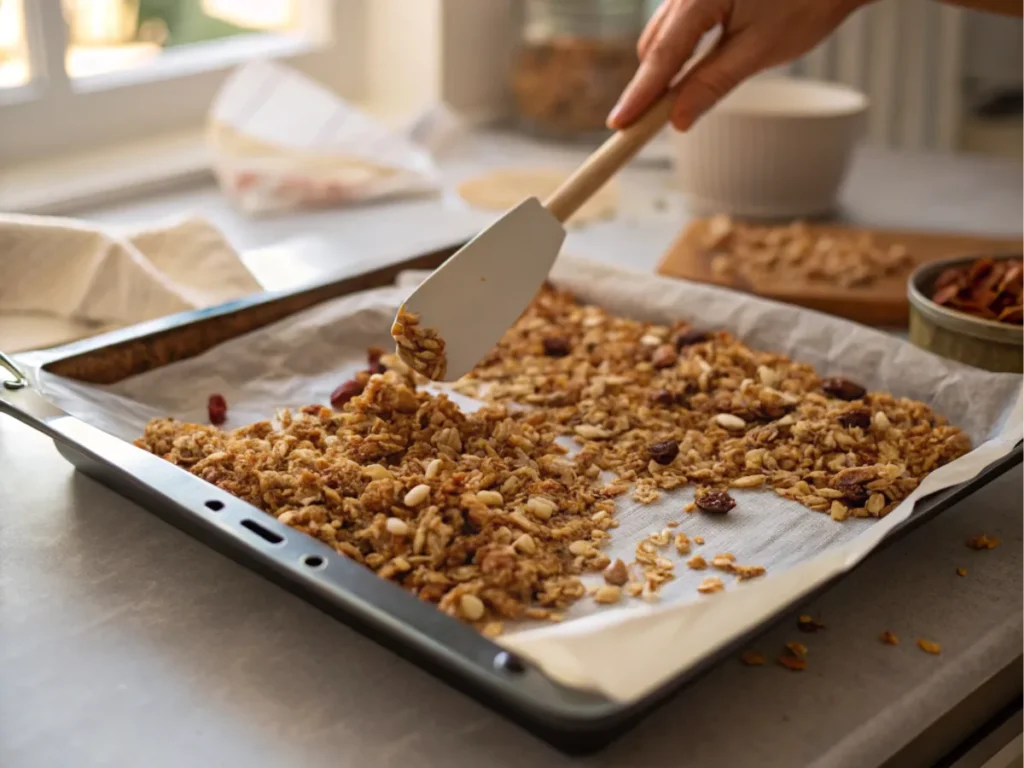
- Spread Evenly: Pour the mixture onto the prepared baking tray. Spread it out in a thin, even layer to ensure even baking.
- Bake and Stir: Place the tray in the oven and bake for 25–30 minutes. Stir the granola halfway through baking to promote even browning.
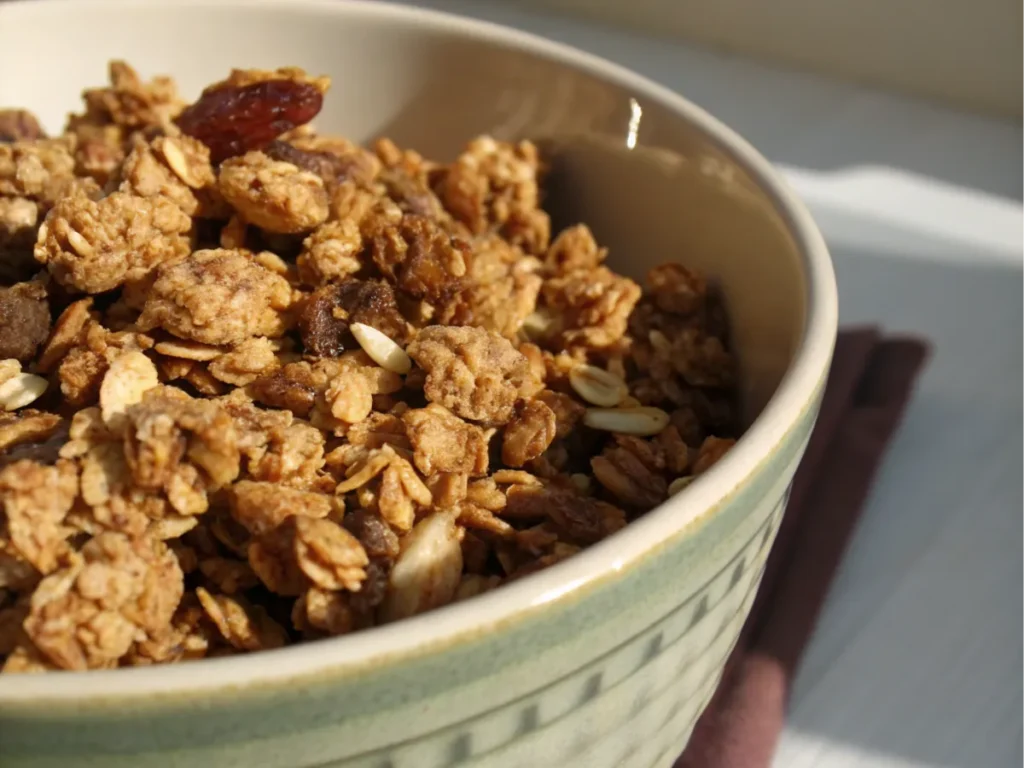
- Cool Completely: Remove the granola from the oven and let it cool fully on the tray. This step is critical for achieving the crunchy texture.
Note: Only add dried fruits, chocolate chips, or coconut flakes after the granola has cooled completely. Otherwise, adding them earlier can, undoubtedly, cause melting or moisture buildup.
How to Troubleshoot Soft Granola
If your granola doesn’t turn out as crunchy as you’d like, don’t worry. Additionally, here are some common issues and simple solutions to help you fix it.
1. Re-Bake for Extra Crunch
Soft granola, undoubtedly, can often be saved with a quick trip back to the oven. Specifically, spread it on a baking tray and bake it again at 325°F (163°C) for 10–15 minutes. Additionally, stir occasionally to prevent burning and ensure even crisping.
Tip: Watch closely during re-baking, especially for small ingredients like seeds, which can burn quickly.
2. Adjust Sweetener and Oil Ratios
If your granola feels heavy or sticky, you might be using too much honey, syrup, or oil. These ingredients add flavor but can also introduce excess moisture.
Learn more about balancing ingredient ratios in this guide on granola ingredients.
3. Optimize Storage Practices
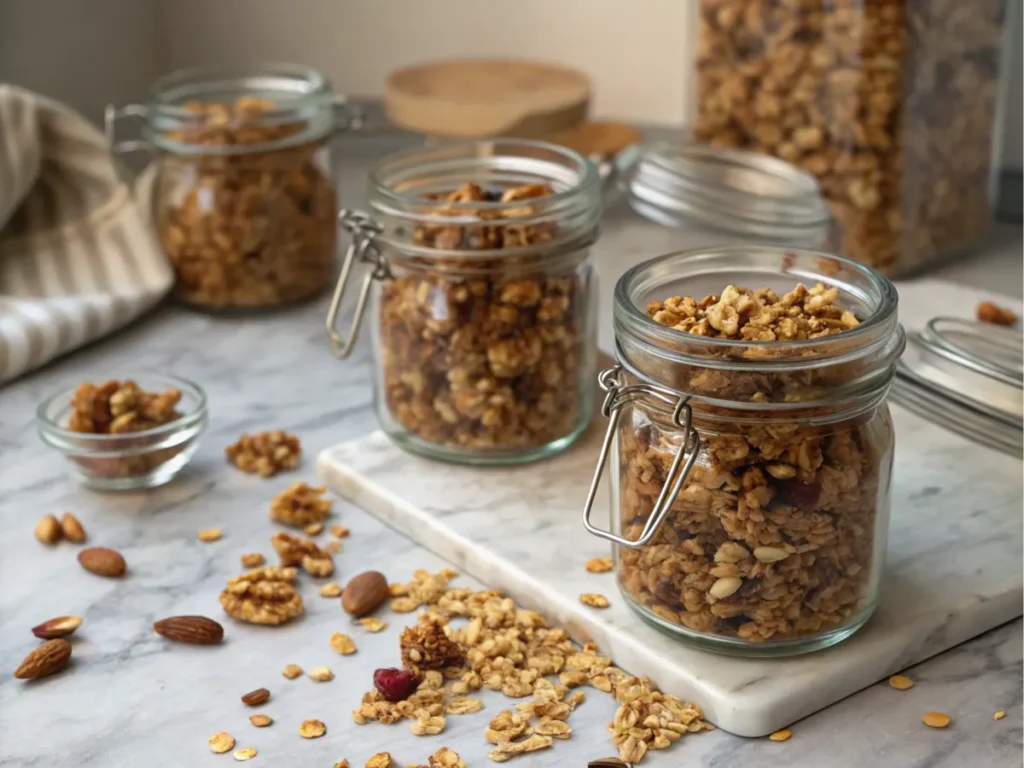
Store granola in an airtight container once it’s fully cooled. Additionally, glass jars with tight lids work best, as they keep air and moisture out. For longer storage, consider adding a silica gel packet to the container to absorb any excess moisture.
Pro Tip: Keep your granola in a cool, dry place. Avoid storing it near the stove or in direct sunlight.
Additional Tips for Making Homemade Granola Crunchy
1. Bake in Small Batches
Overcrowding the baking tray can prevent proper airflow, leading to unevenly baked granola. If you’re making a large batch, use two trays instead of piling everything onto one.
Tip: Spread granola in a single layer to ensure even toasting.
2. Use Quality Ingredients
High-quality oats, nuts, and oils can make a noticeable difference in your granola. Avoid using quick oats, as they tend to break down during baking and create a mushy texture.
Tip: Stick to old-fashioned rolled oats for the best crunch.
3. Add Delicate Ingredients Later
Ingredients like dried fruits, chocolate chips, or shredded coconut should only be added after the granola has cooled. Adding them earlier can result in melting or clumping.
Related Link: For a delicious twist, try this Vanilla Nut Granola Recipe.
Common Mistakes to Avoid for Crunchy Homemade Granola
1. Using the Wrong Temperature
Baking granola at a temperature that’s too high or too low, undoubtedly, can ruin its texture. Therefore, stick to 325°F for the best results.
2. Storing While Warm
Warm granola releases steam, which can become trapped in containers and make the granola soggy. Always allow it to cool completely before storing.
3. Overusing Sweeteners
While honey and syrup add flavor, too much can weigh down the granola. Measure carefully and stick to the recipe.
Pro Tips and Variations for Homemade Granola That’s Crunchy
Granola, undoubtedly, is one of the most adaptable breakfast staples, allowing endless creativity to suit different tastes, textures, and dietary needs. Moreover, with the right tips and tricks, you can elevate your granola to the next level.
1. Flavor Inspirations
Granola, undoubtedly, can be flavored to match the seasons, your cravings, or even special occasions. Therefore, here are some popular flavor profiles to try:
- Fall-Inspired: Add cinnamon, nutmeg, and cloves for a warm, spiced flavor. Stir in dried apple chunks and a handful of pecans for added texture.
- Chocolate Lovers: Mix unsweetened cocoa powder into the oats before baking. After cooling, toss in dark chocolate chips or cacao nibs for a decadent treat.
- Tropical Vibes: Include dried pineapple and mango chunks, shredded coconut, and macadamia nuts. Pair it with a splash of coconut milk for a tropical breakfast bowl.
Pro Tip: Don’t shy away from experimenting with spices like cardamom, turmeric, or allspice. Moreover, they can add depth and uniqueness to your granola.
2. Health-Conscious Adjustments
For those looking to make granola healthier, small adjustments can have a big impact. These substitutions allow you to maintain flavor while improving the nutritional value:
- Replace liquid sweeteners like honey with mashed bananas or pureed dates. This natural sweetness reduces added sugar while adding fiber.
- Use chia or flaxseeds to bind the ingredients instead of oil, cutting down on fats while increasing omega-3s.
- Opt for raw nuts and seeds instead of pre-roasted ones to avoid added salt or oils.
Pro Tip: For gluten-free granola, ensure all ingredients, especially oats, are certified gluten-free to avoid cross-contamination.
3. Enhancing Texture
Granola is loved for its crunch, but adding a variety of textures can make it even more enjoyable. Consider these tips to balance crispness and chewiness:
- For a stronger crunch, include puffed quinoa, roasted buckwheat groats, or toasted amaranth.
- For chewiness, mix in dried apricots, figs, or cranberries after baking. These ingredients provide a satisfying contrast to the crispy oats.
Related Link: Discover how buckwheat can enhance your breakfast routine with this guide on buckwheat pancake mix.
How to Store Homemade Granola to Keep It Crunchy
Storing granola properly, undoubtedly, ensures that all your hard work pays off. Moreover, with the right storage techniques, your granola can remain crunchy and flavorful for weeks.
1. Choose the Right Container
Airtight containers are essential for maintaining granola’s crunch. Glass jars with silicone seals are the most reliable option because they keep out air and moisture effectively.
- For large batches, divide granola into smaller jars. This way, you can flavor individual portions differently.
- Avoid plastic bags unless they are resealable and only for short-term use.
2. Extend Shelf Life with the Freezer
For large quantities, refrigeration or freezing is a great way to preserve freshness. Granola freezes well, and its texture remains intact when thawed.
- Use freezer-safe bags and squeeze out as much air as possible before sealing.
- When ready to eat, thaw granola at room temperature for about 30 minutes to restore its crispness.
Pro Tip: Label your containers with the date to keep track of freshness and avoid letting it sit unused for too long.
3. Combat Moisture with Silica Packets
Humidity is granola’s enemy. Food-safe silica packets can help absorb any residual moisture, particularly in humid climates. Simply place one inside the jar or container to extend the granola’s shelf life.
Pro Tip: Never add warm granola to storage containers, as it can release steam and soften over time.
Pairing Homemade Granola with Other Breakfast Staples for a Crunchy Start
Granola is a versatile ingredient that enhances the flavor, texture, and nutrition of many breakfast dishes. Whether you sprinkle it on top, mix it in, or use it as a base, granola can transform a simple meal into something extraordinary. Here are some creative ways to pair granola with other breakfast staples.
1. Smoothie Bowls
Top creamy smoothie bowls, undoubtedly, made with blended frozen fruits and yogurt with granola for crunch. Additionally, add fresh fruits like berries or kiwi for extra flavor.
- Why It Works: The crunch of granola balances the creamy texture of the smoothie.
- Pro Tip: Use flavored granola to complement the smoothie ingredients.
2. Pancakes and Waffles
Sprinkle granola onto pancakes or waffles before flipping or after cooking. Pair with a drizzle of syrup or a dollop of yogurt. For a wholesome twist, consider using buckwheat pancakes.
- Why It Works: The crispy granola contrasts beautifully with soft, fluffy pancakes or waffles.
- Try pairing granola with Buckwheat Pancake Mix for a hearty, nutritious breakfast.
3. Yogurt Parfaits
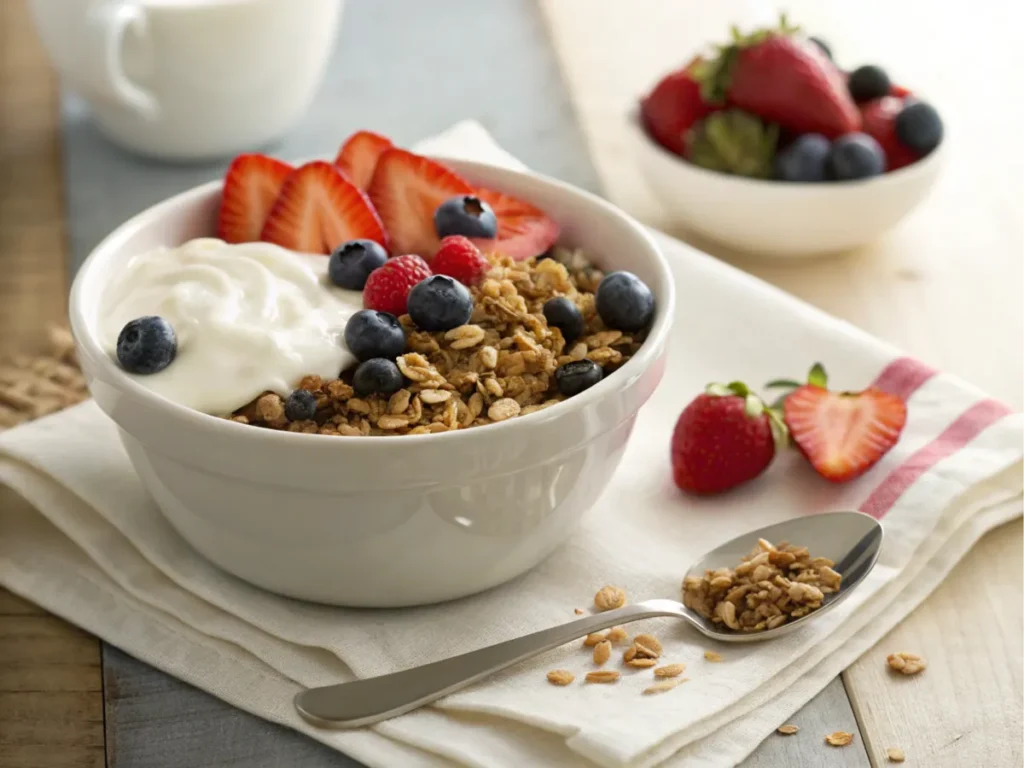
Layer granola with yogurt and fruits for a quick and visually stunning parfait. Alternate layers of creamy yogurt and fresh berries with granola for texture.
- Why It Works: The granola adds crunch to the creamy yogurt and juicy fruits.
- Pro Tip: Use lightly sweetened granola for a healthier parfait.
4. Oatmeal Toppings
Sprinkle granola over cooked oatmeal for added crunch and flavor. Pair with nuts, seeds, or fresh fruits for a nutrient-packed breakfast bowl.
- Why It Works: The crispy granola complements the creamy oatmeal.
- Pro Tip: Add spiced granola for a warming touch.
5. Acai Bowls
Enhance antioxidant-rich acai bowls with granola, coconut flakes, and fresh fruits. The granola provides a satisfying crunch to balance the smooth base.
- Why It Works: The granola’s crunch enhances the bowl’s fruity, refreshing flavors.
- Pro Tip: Add seeds like chia or flax for extra nutrition.
6. Breakfast Muffins
Mix granola into muffin batter or sprinkle it on top before baking for a crunchy texture. Granola pairs well with banana, apple, or carrot muffins.
- Why It Works: Granola adds a hearty crunch to soft muffins.
- Pro Tip: Use granola clusters for larger, crispier bites.
7. Fruit Salads
Top fruit salads with granola to add a crunchy, nutty contrast to the sweetness of the fruits. Drizzle honey for a finishing touch. Serve alongside fresh-baked pies for a balanced breakfast spread.
- Why It Works: The granola’s crunch and flavor enhance the juiciness of the fruit.
- Discover perfect pie-making techniques with Fruit Pie: No Soggy Bottom.
8. Ice Cream Topping
Granola isn’t just for breakfast—it’s an excellent dessert topping. Sprinkle granola over ice cream or frozen yogurt for texture and flavor.
- Why It Works: The contrast between the creamy dessert and crunchy granola is irresistible.
- Pro Tip: Pair it with caramel or chocolate syrup for added indulgence.
FAQs: Common Questions About Homemade Granola Crunchy Success
How to keep homemade granola crunchy?
Ensure your granola cools completely before storing it in an airtight container. Add a food-safe silica packet to absorb excess moisture. Store the container in a cool, dry place away from sunlight.
Why is my homemade granola soft?
Soft granola is often caused by too much liquid or improper cooling. Stick to the recipe’s recommended amounts for sweeteners and oils. Let granola cool fully on the baking tray to avoid trapping steam in storage.
Why is my granola not getting crunchy?
Granola that doesn’t crisp is likely underbaked or overcrowded on the tray. Bake at 325°F and spread the mixture thinly. Stir halfway through baking to ensure even heat distribution.
How do you harden homemade granola?
Re-bake soft granola at 325°F for 10–15 minutes. Spread it on a baking tray in a thin layer and stir once or twice during baking. Let it cool fully on the tray before transferring it to a container.
Conclusion: Achieving Homemade Granola That’s Always Crunchy
Homemade granola is a versatile kitchen staple that, with the right techniques, can be perfected to deliver the ideal crunchy texture. By mastering the secrets to achieving a crisp bite, experimenting with creative flavor combinations, and using proper storage methods, you can enjoy delicious granola for weeks. Whether for breakfast, snacks, or desserts, this timeless treat offers endless possibilities to satisfy your cravings. Start crafting your own unique blends today and savor every crunchy bite!

