Why is it called a travel cake? Travel cakes are more than just desserts—they are culinary marvels crafted to withstand both time and the demands of travel. These hearty cakes, packed with durable ingredients, have evolved from practical journey essentials into celebrated delicacies. But what makes them so unique? And why are they perfectly suited for travel? This article explores their fascinating history, distinct characteristics, and provides a step-by-step guide to baking your own travel cake at home. Along the way, you’ll uncover the rich traditions that have made these cakes a staple in baking culture for generations.
Table of contents
Why Is It Called a Travel Cake? What Makes It Unique?
Travel cakes stand apart due to their practicality and adaptability. Unlike light, airy sponge cakes that crumble easily or spoil quickly, travel cakes are dense, rich, and designed to last. Their ingredients are chosen specifically for longevity, ensuring the cake retains its flavor and moisture even after days or weeks.
A Perfect Companion for Adventures
Historically, travel cakes served as an ideal food for explorers, traders, and travelers embarking on long journeys. Their durability made them indispensable, whether packed for sea voyages, carried on horseback, or enjoyed on a family road trip. Even today, travel cakes are prized for their resilience, making them a thoughtful gift or an easy-to-transport dessert.
The Origins of Travel Cakes
The history of travel cakes, unquestionably, reflects the diversity of the cultures that wholeheartedly embraced them. To begin with, bakers in ancient times introduced variations of travel cakes in both Europe and the Middle East—regions renowned for their rich and longstanding baking traditions. Moreover, they crafted these cakes with honey, dried fruits, and nuts, using these natural preservatives to enhance their flavor and extend their freshness.
Furthermore, one popular variant, the fruitcake, is, indeed, perhaps the most recognizable modern descendant of the traditional travel cake. Originally, fruitcakes were crafted specifically for long winter months and special occasions, thereby embodying the essence of a travel cake: robust, flavorful, and enduring. Accordingly, the fruitcake stands as a timeless example of how practicality and tradition can harmoniously combine to create a culinary masterpiece.
Learn more about the unique characteristics and history of travel cakes in our Travel Cake Guide.
Essential Ingredients You’ll Need to Make a Travel Cake
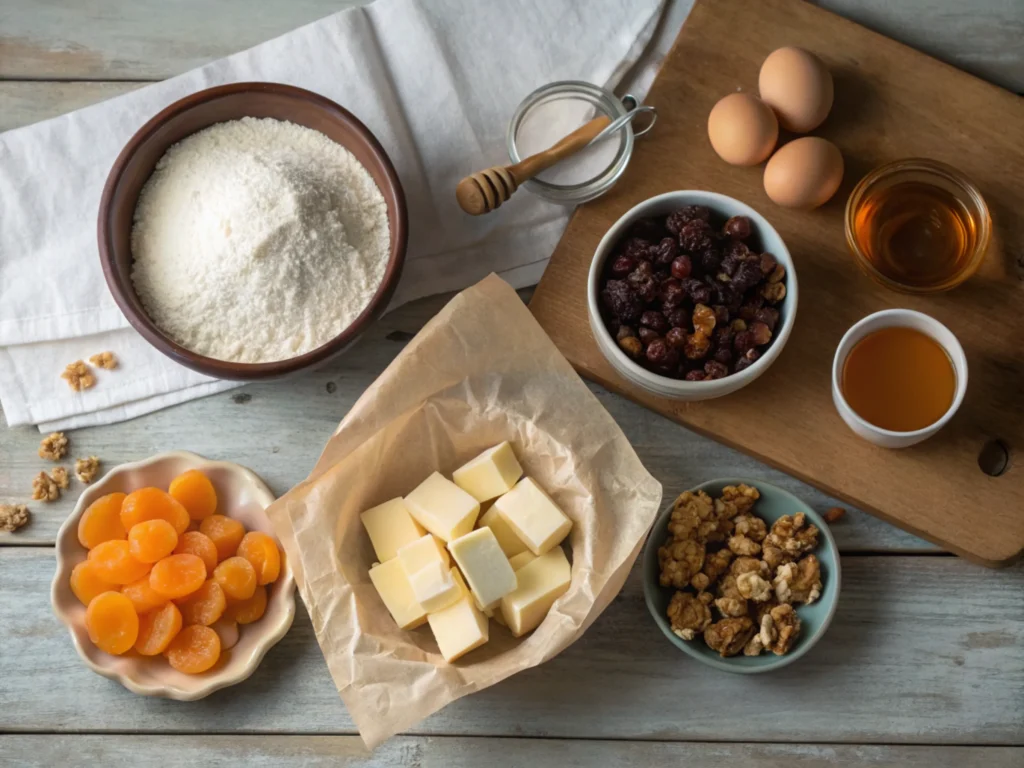
Creating a travel cake begins with selecting ingredients that not only taste delicious but also stand the test of time. Here’s what you’ll need:
The Essential Ingredients
- Flour: Forms the structural base of the cake, ensuring it holds up during travel.
- Dried Fruits: Raisins, apricots, cranberries, or cherries add bursts of sweetness and help maintain moisture.
- Nuts: Almonds, walnuts, or pecans contribute crunch and a satisfying texture.
- Butter: Provides richness and enhances the cake’s moist, tender crumb.
- Sugar: Both granulated and brown sugar can be used for a balance of sweetness and depth.
- Eggs: Bind the ingredients together and ensure a cohesive texture.
- Spices: Warm flavors like cinnamon, nutmeg, or allspice elevate the taste and aroma.
- Optional Additions: Lemon or orange zest for a citrusy kick, or a splash of rum for depth.
Ingredient Insights
Each ingredient plays a crucial role in crafting a perfect travel cake. Dried fruits and nuts, for example, not only infuse the cake with natural sweetness and crunch but also extend its shelf life. Butter and eggs provide richness while ensuring a moist texture, preventing the cake from becoming dry over time. Spices, meanwhile, add a warming aroma that enhances the overall eating experience.
Customization Options
One of the joys of making a travel cake is its versatility. You can experiment with different combinations of dried fruits and nuts or incorporate unique spices to create a flavor profile that suits your taste. For instance, tropical fruits like pineapple and coconut can transform the cake into a sunny delight, while chocolate chips and espresso powder can give it a decadent twist.
For more inspiration, explore our recipe for Hawaiian Banana Bread, a tropical twist on this classic dessert concept.
How to Make a Travel Cake: A Step-by-Step Recipe Guide
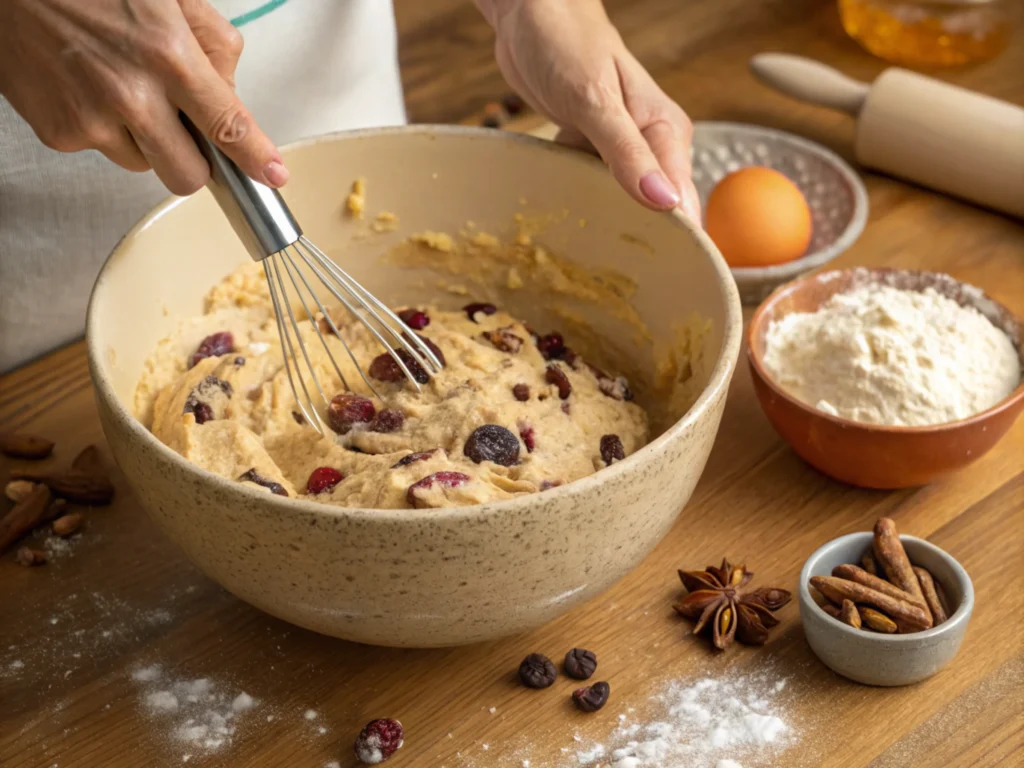
Making a travel cake is a rewarding process that combines simple ingredients with timeless techniques. Whether you’re preparing it for a journey, a picnic, or as a thoughtful gift, this recipe is sure to impress. Follow these steps to create your own:
1. Prepare Your Ingredients and Tools
Before you begin, gather all your ingredients and preheat your oven to 325°F (163°C). Grease a loaf pan and line it with parchment paper for easy removal. Having your tools and ingredients ready ensures a smooth baking process.
2. Mix the Dry Ingredients
In a large bowl, combine the flour, baking powder, and spices. Use a whisk to evenly distribute the dry ingredients, breaking up any clumps for a uniform batter.
3. Cream the Butter and Sugar
In a separate mixing bowl, beat the butter and sugar together until the mixture becomes pale and fluffy. This step is crucial as it incorporates air into the batter, resulting in a light yet sturdy texture.
4. Add Eggs and Flavorings
Gradually add the eggs, one at a time, beating well after each addition. This prevents the batter from curdling and ensures a smooth consistency. Next, stir in your chosen flavorings, such as vanilla extract, citrus zest, or a splash of rum, to enhance the cake’s depth.
5. Fold in the Mix-Ins
Now it’s time to add the stars of the show—dried fruits and nuts. Using a spatula, gently fold them into the batter, being careful not to overmix. This ensures an even distribution of ingredients without compromising the cake’s structure.
Tips for Success
- Room Temperature Ingredients: Make sure your butter and eggs are at room temperature for a smoother batter.
- Don’t Overmix: Overmixing the batter can lead to a tough texture. Stir just until the ingredients are combined.
- Even Baking: Rotate the pan halfway through baking to ensure the cake cooks evenly.
6. Pour and Bake
Pour the batter into your prepared loaf pan, smoothing the top with a spatula for an even finish. Place the pan in the preheated oven and bake for 50–60 minutes, or until a toothpick inserted into the center comes out clean. The aroma of spices and baked fruits will fill your kitchen as the cake reaches golden perfection.
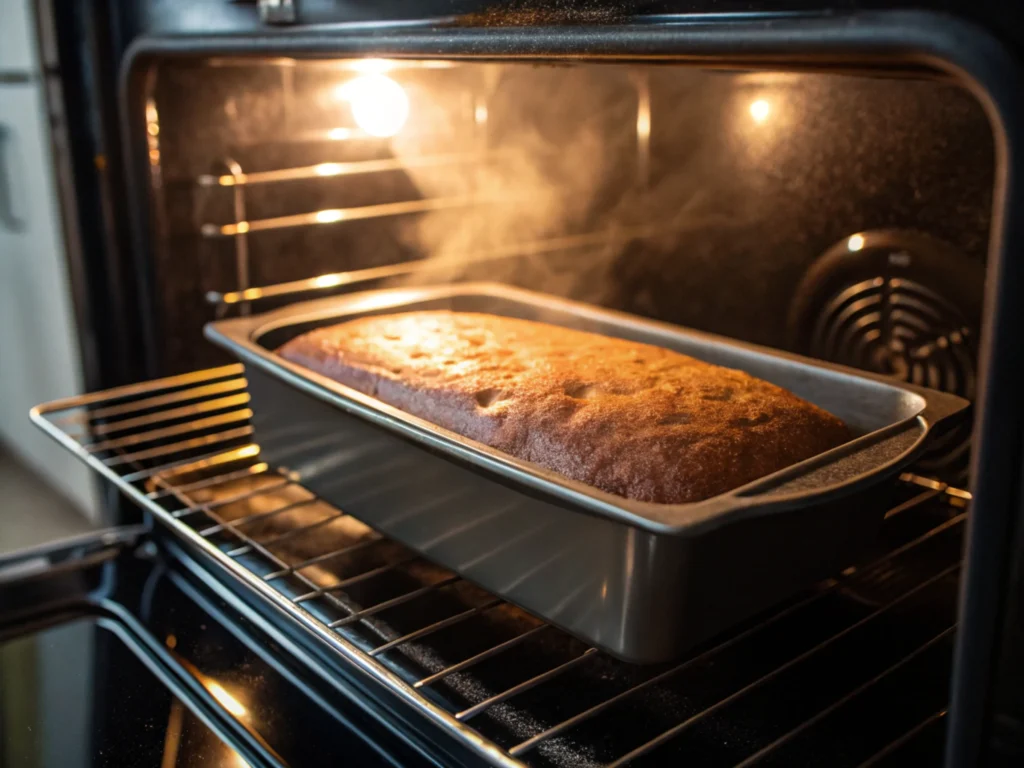
7. Cool and Slice
Allow the cake to cool in the pan for about 10 minutes, then transfer it to a wire rack to cool completely. Cooling is crucial for locking in the flavors and ensuring the cake holds its shape when sliced. Once cool, use a sharp knife to cut into slices or store it whole for later use.
8. Presentation and Storage of the Travel Cake
Place your travel cake in an airtight container, or alternatively, wrap it tightly in parchment paper, as this step, undoubtedly, is essential for preserving its quality. Additionally, storing it properly not only maintains its texture but also keeps it remarkably fresh for days—or even weeks! Consequently, its incredible shelf life makes it especially perfect for gifting to loved ones or, conversely, taking on long journeys. Indeed, this durability is one of the key reasons travel cakes remain so beloved worldwide.
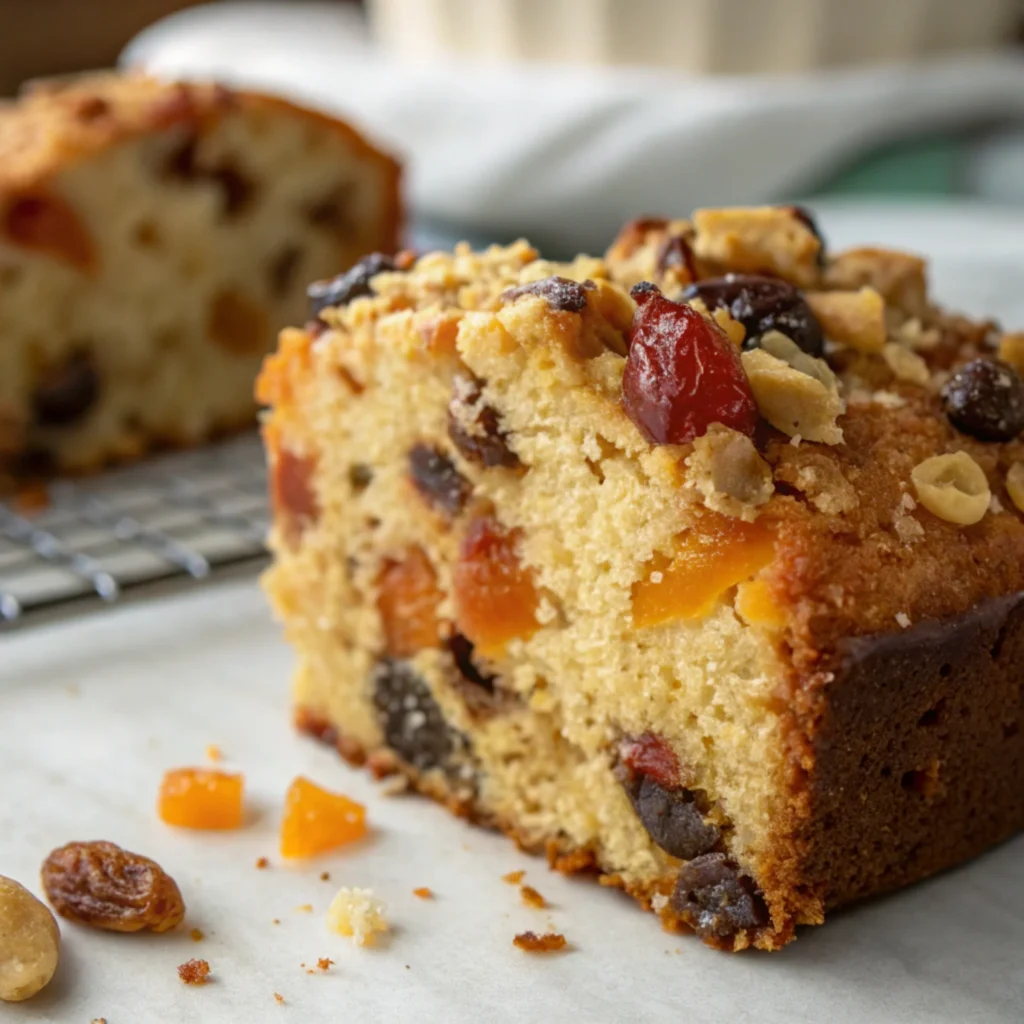
Why Travel Cake Is Perfect for Any Occasion
Travel cakes are more than practical—they are versatile, delicious, and perfect for any event. From picnics to holiday gatherings, their ability to stay fresh and flavorful makes them a go-to option.
The Best Occasions to Enjoy Travel Cake
- Road Trips and Hikes: Travel cakes are lightweight and easy to pack, providing a filling snack for outdoor adventures.
- Gifting: Their long shelf life and robust flavors make them ideal for gifting during the holidays or special events.
- Quick Breakfasts: A slice of travel cake pairs perfectly with a morning coffee, offering a convenient, satisfying start to the day.
Curious about more timeless desserts? Explore our Birthday Cakes Guide for celebratory inspiration.
Pro Tips and Variations for Travel Cake
Travel cakes are not just about tradition—they’re also highly adaptable. Here are some creative ways to personalize your recipe.
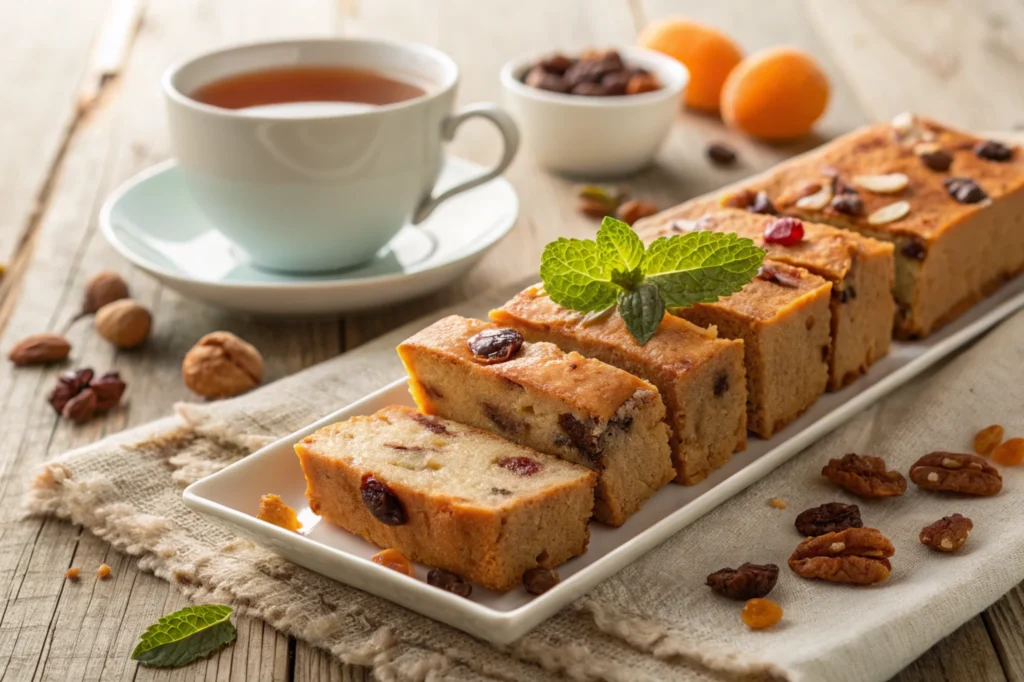
Variations to Try
- Tropical Flavor: Add dried pineapple, shredded coconut, and a splash of coconut rum for a sunny twist.
- Decadent Chocolate: Swap some of the flour for cocoa powder and mix in dark chocolate chunks.
- Spiced Delight: Enhance the warming spices with ginger and cardamom for a bold, aromatic flavor.
Expert Tips for the Best Results
- Use Fresh Ingredients: Ensure your dried fruits and nuts are fresh for optimal flavor and texture.
- Allow Cooling Time: Always let your cake cool fully before slicing to prevent crumbling.
- Experiment with Shapes: While loaf pans are traditional, you can also bake travel cakes in bundt pans for a festive presentation.
Learn about the science behind baking with our article on What Does Kefir Do in Baking?.
FAQs About Travel Cake
This section answers some of the most common questions about travel cakes, offering valuable insights for beginners and seasoned bakers alike.
What Is the Difference Between a Travel Cake and a Normal Cake?
Travel cakes are denser and more robust than regular cakes. While normal cakes focus on softness and light textures, travel cakes prioritize durability and moisture retention, making them ideal for long-term storage and transportation.
Why Is It Called Elvis Presley Cake?
Elvis Presley Cake is named after the legendary singer and is a nod to his love for indulgent desserts. It typically features rich ingredients like pineapple, pecans, and cream cheese frosting.
Why Is It Called a Johnny Cake?
Johnny cakes trace their origins to early American settlers. These cornmeal-based cakes were simple to prepare and versatile, serving as a staple food for travelers and pioneers.
Why Is It Called Funnel Cake?
Funnel cakes derive their name from the method of preparation. The batter is poured through a funnel into hot oil, creating a lacy, fried cake popular at fairs and festivals.
Can Travel Cakes Be Frozen?
Yes, travel cakes freeze exceptionally well. Wrap them tightly in plastic wrap or foil and store them in an airtight container. They can last up to three months in the freezer without losing their quality.
Are Travel Cakes Suitable for Dietary Restrictions?
Absolutely! Travel cakes can be customized for dietary needs. Gluten-free flours, vegan butter, and plant-based milk are excellent substitutes for traditional ingredients.
Conclusion
Travel cakes are a testament to the beauty of practical and flavorful baking. From their rich history to their adaptability, these cakes continue to capture the hearts of bakers and adventurers alike. Whether you’re preparing for a journey, hosting a gathering, or simply craving a slice of nostalgia, a well-made travel cake is the perfect choice.
For instance, the “Johnny Cake,” also known as “Hoe Cake,” has its origins with Native Americans and was later adopted by European settlers. This cornmeal flatbread was ideal for long journeys due to its durability and ease of transport.
Now it’s your turn—try the recipe, experiment with variations, and share your creations with loved ones. Happy baking!

14 thoughts on “Why Is It Called a Travel Cake? Recipe and Origins Explained”